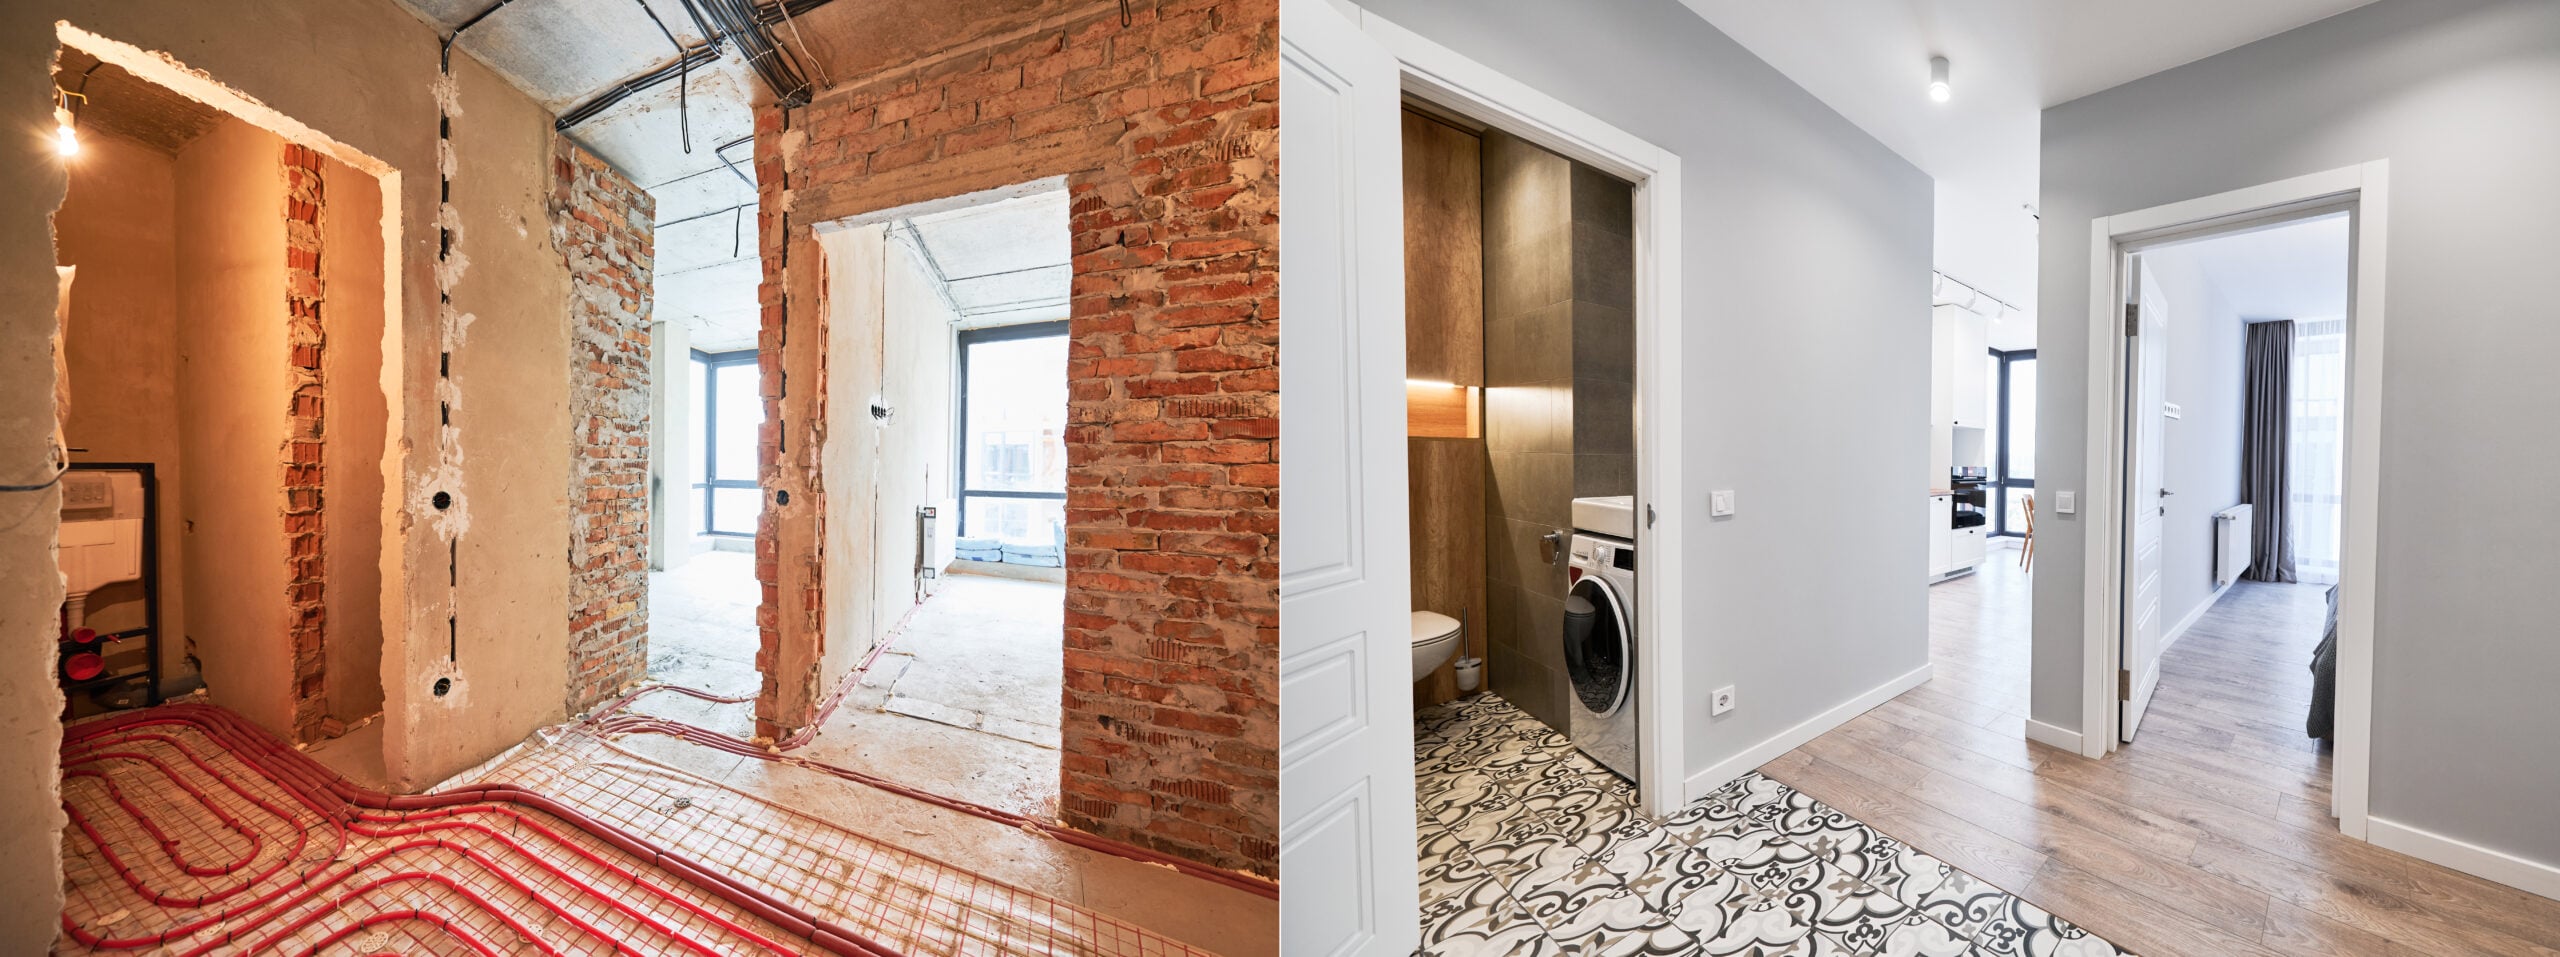
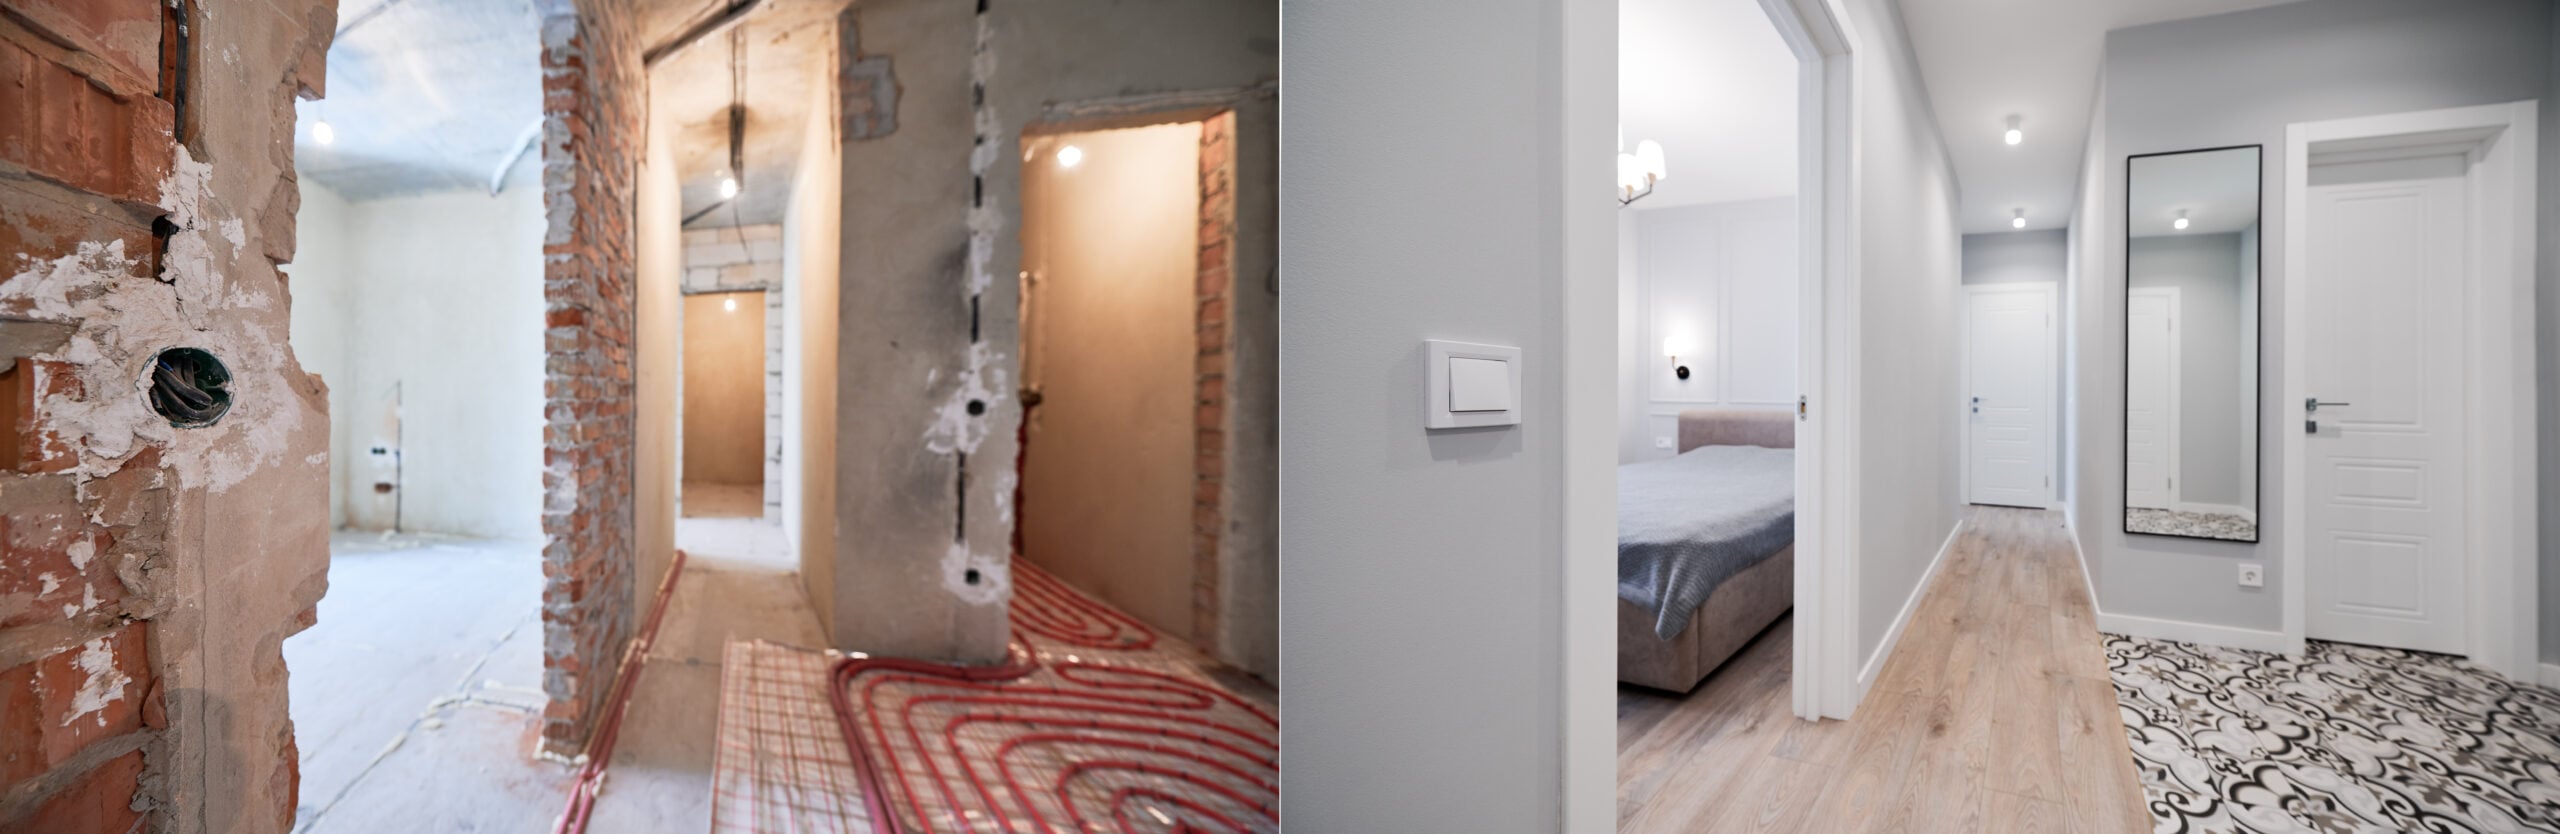
Tub-to-Shower Conversion

in Central Florida.

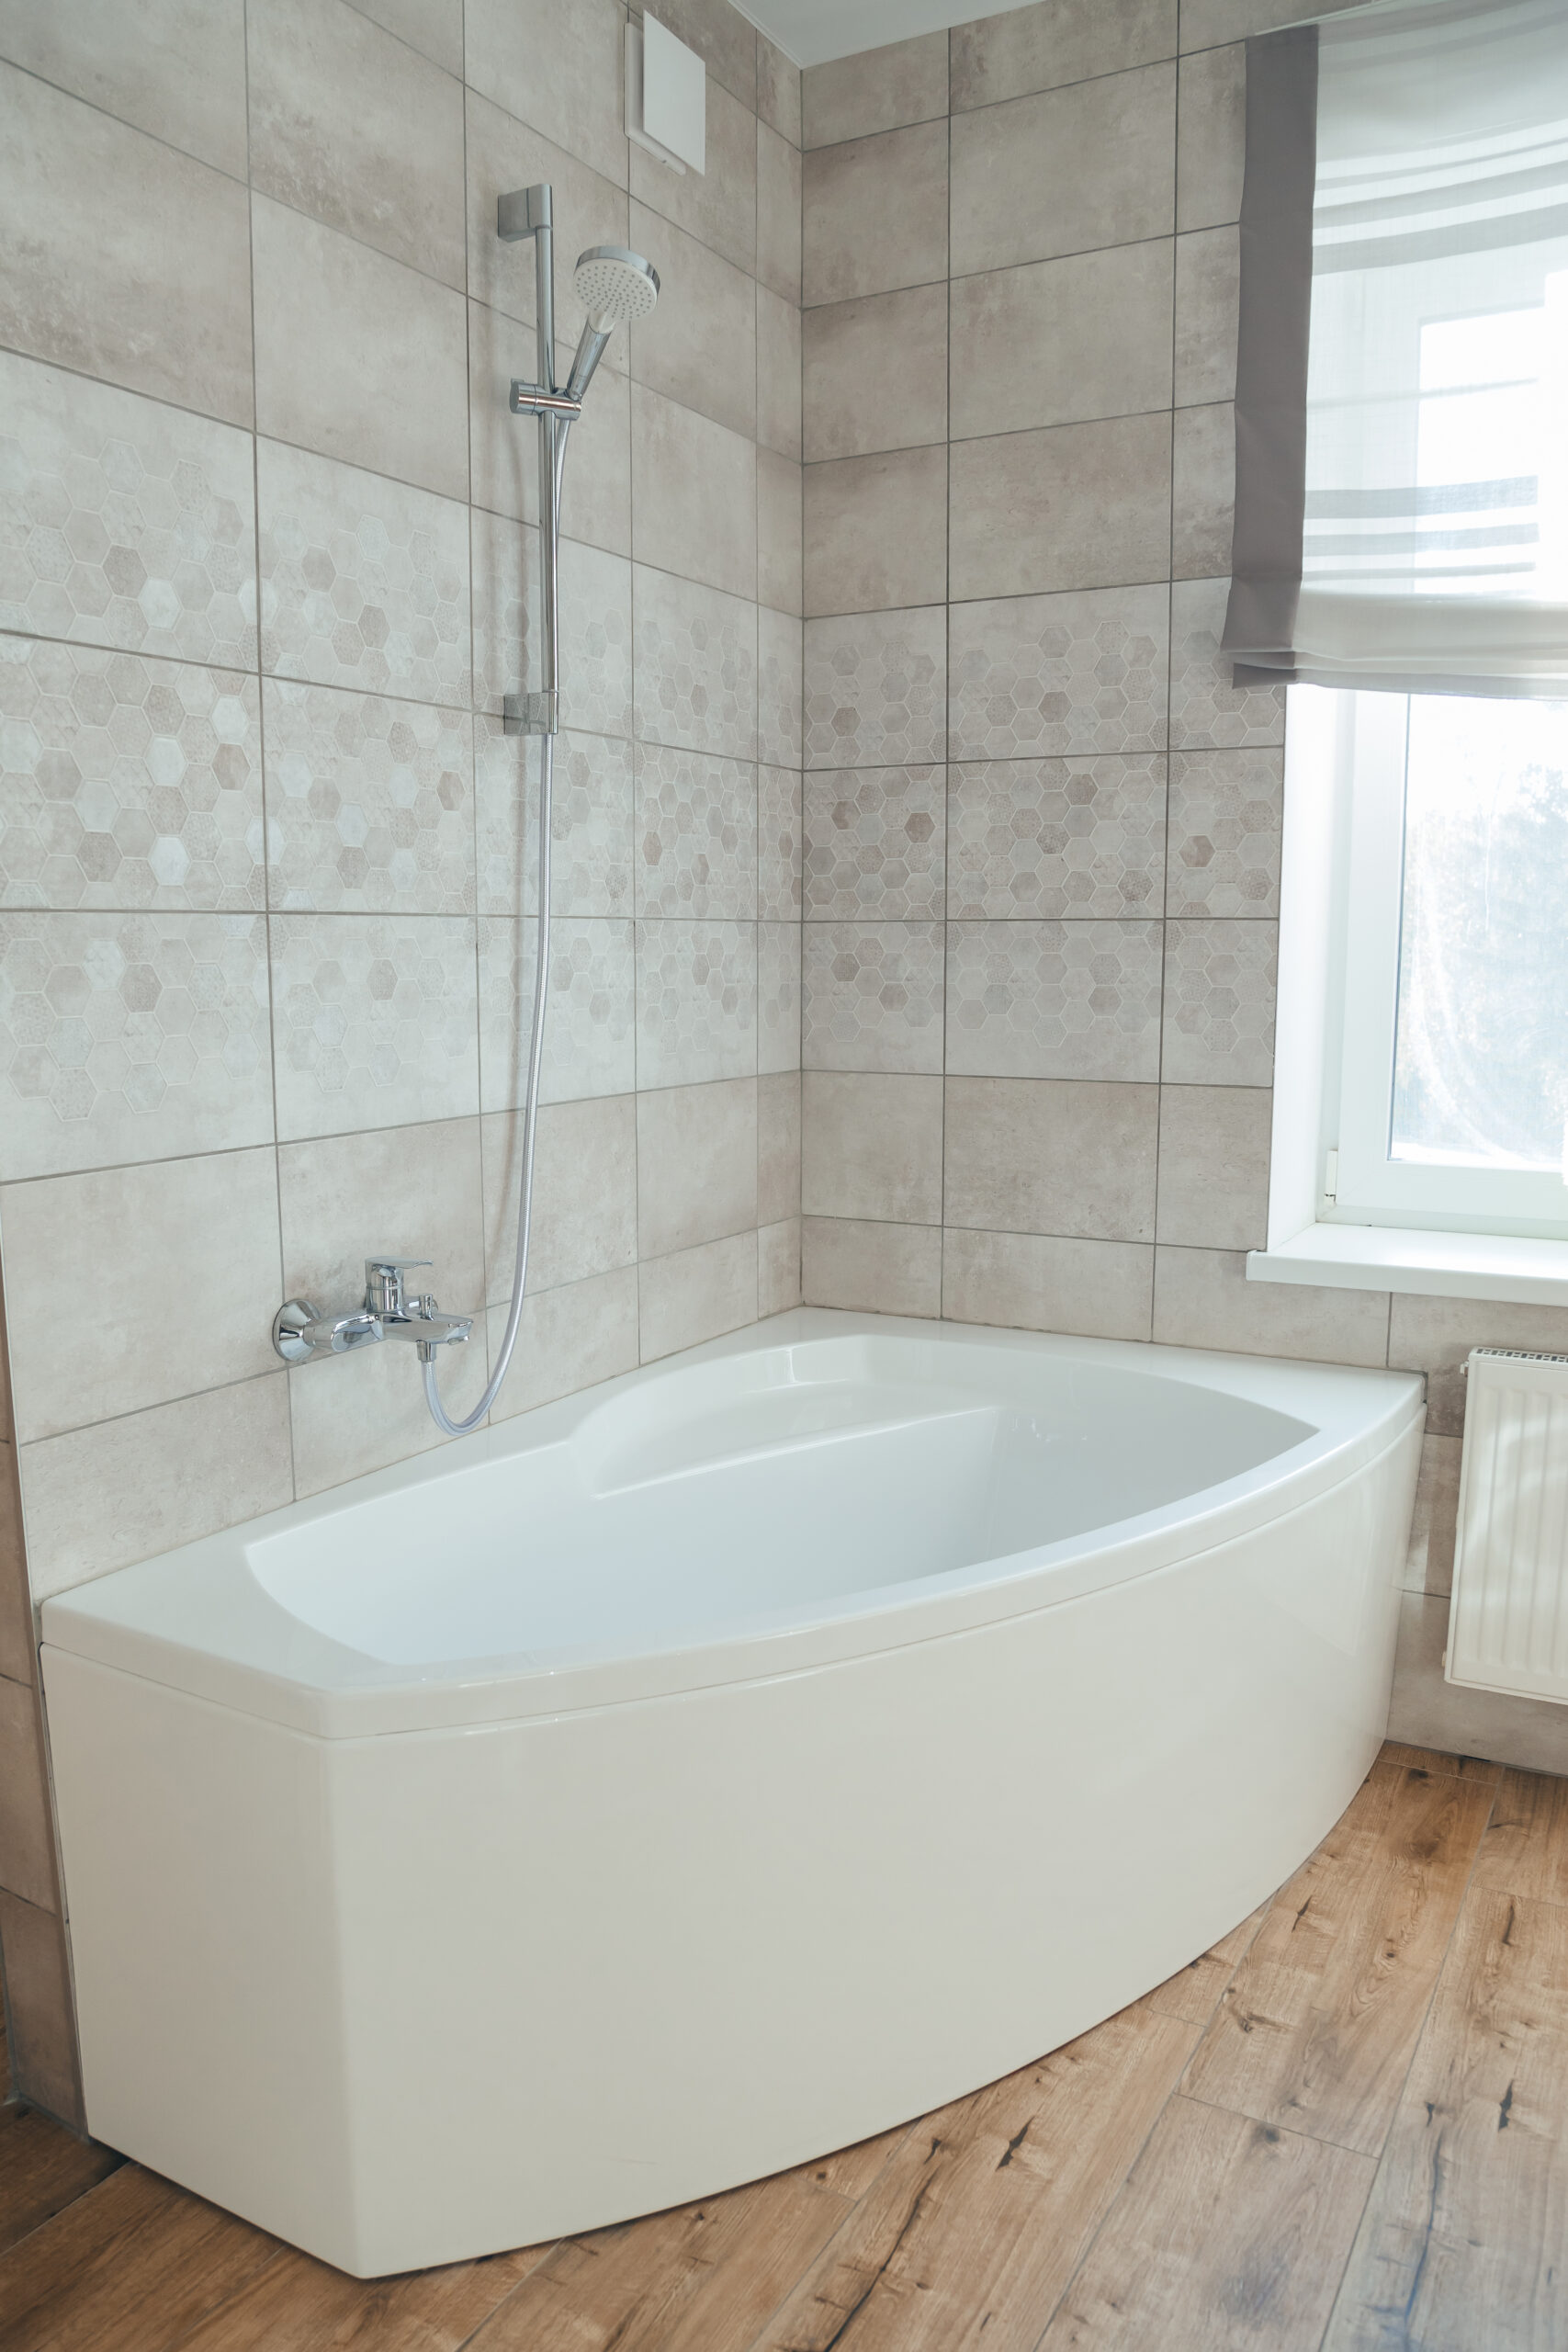
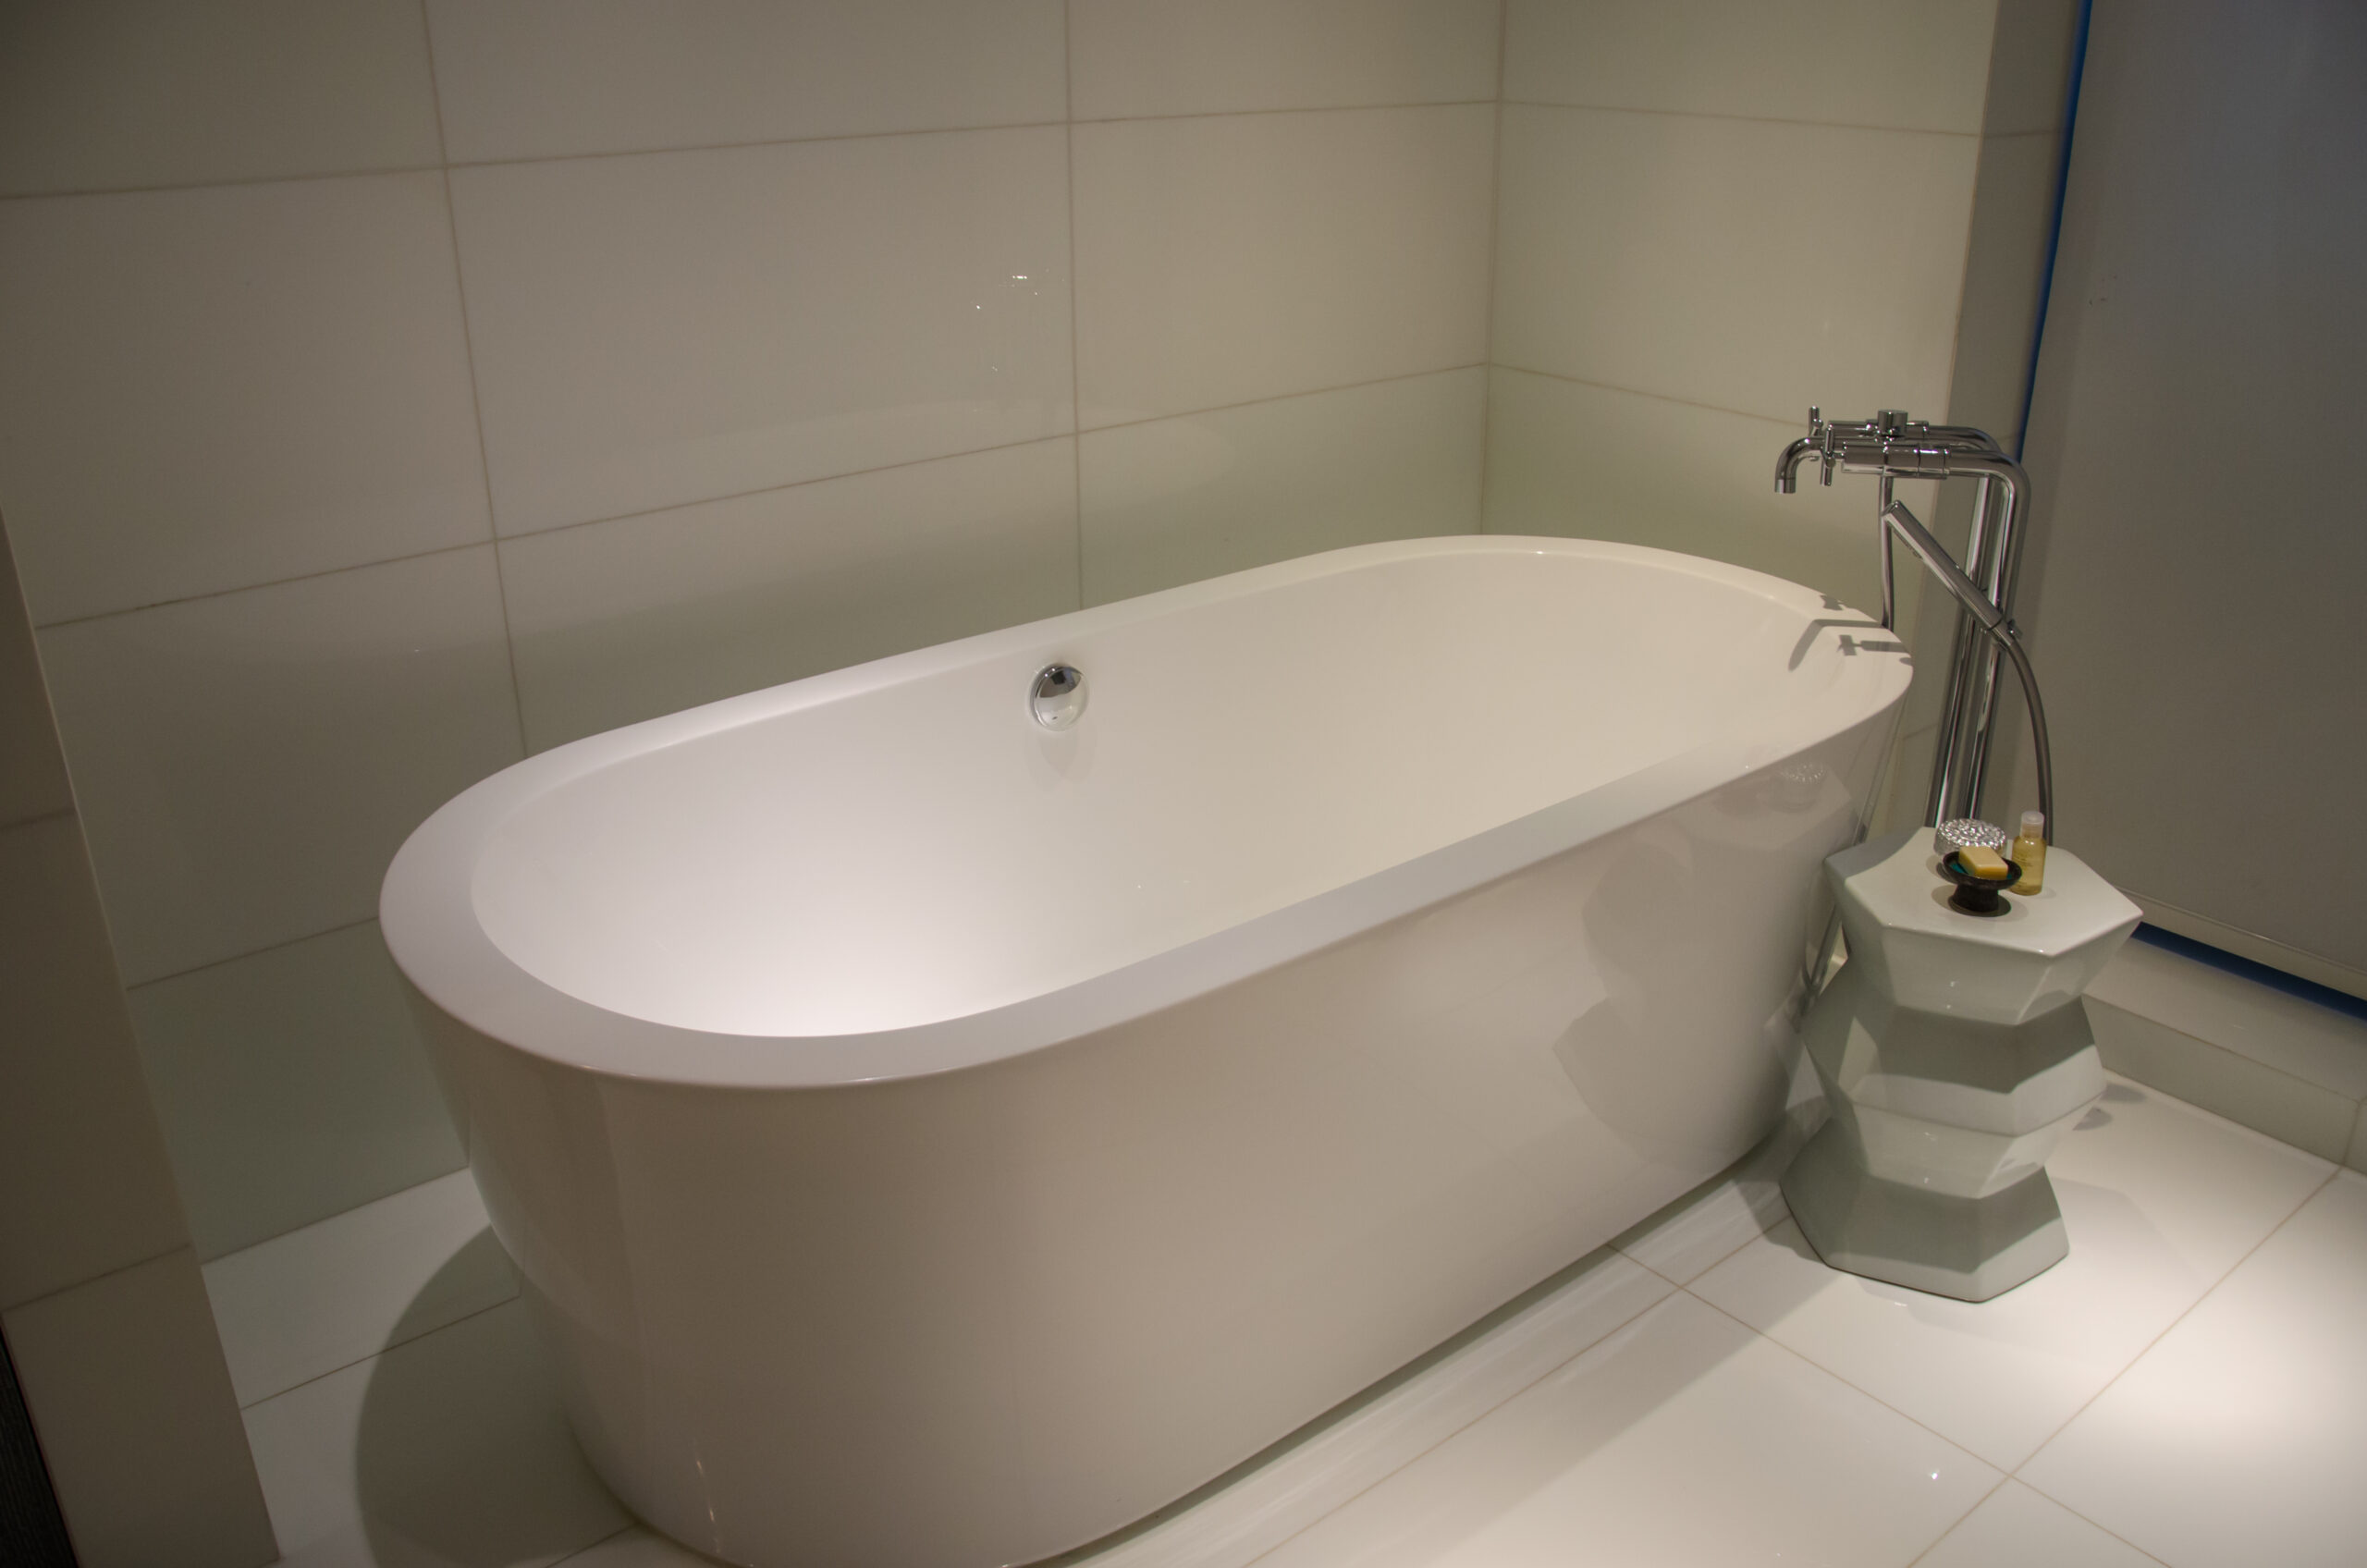
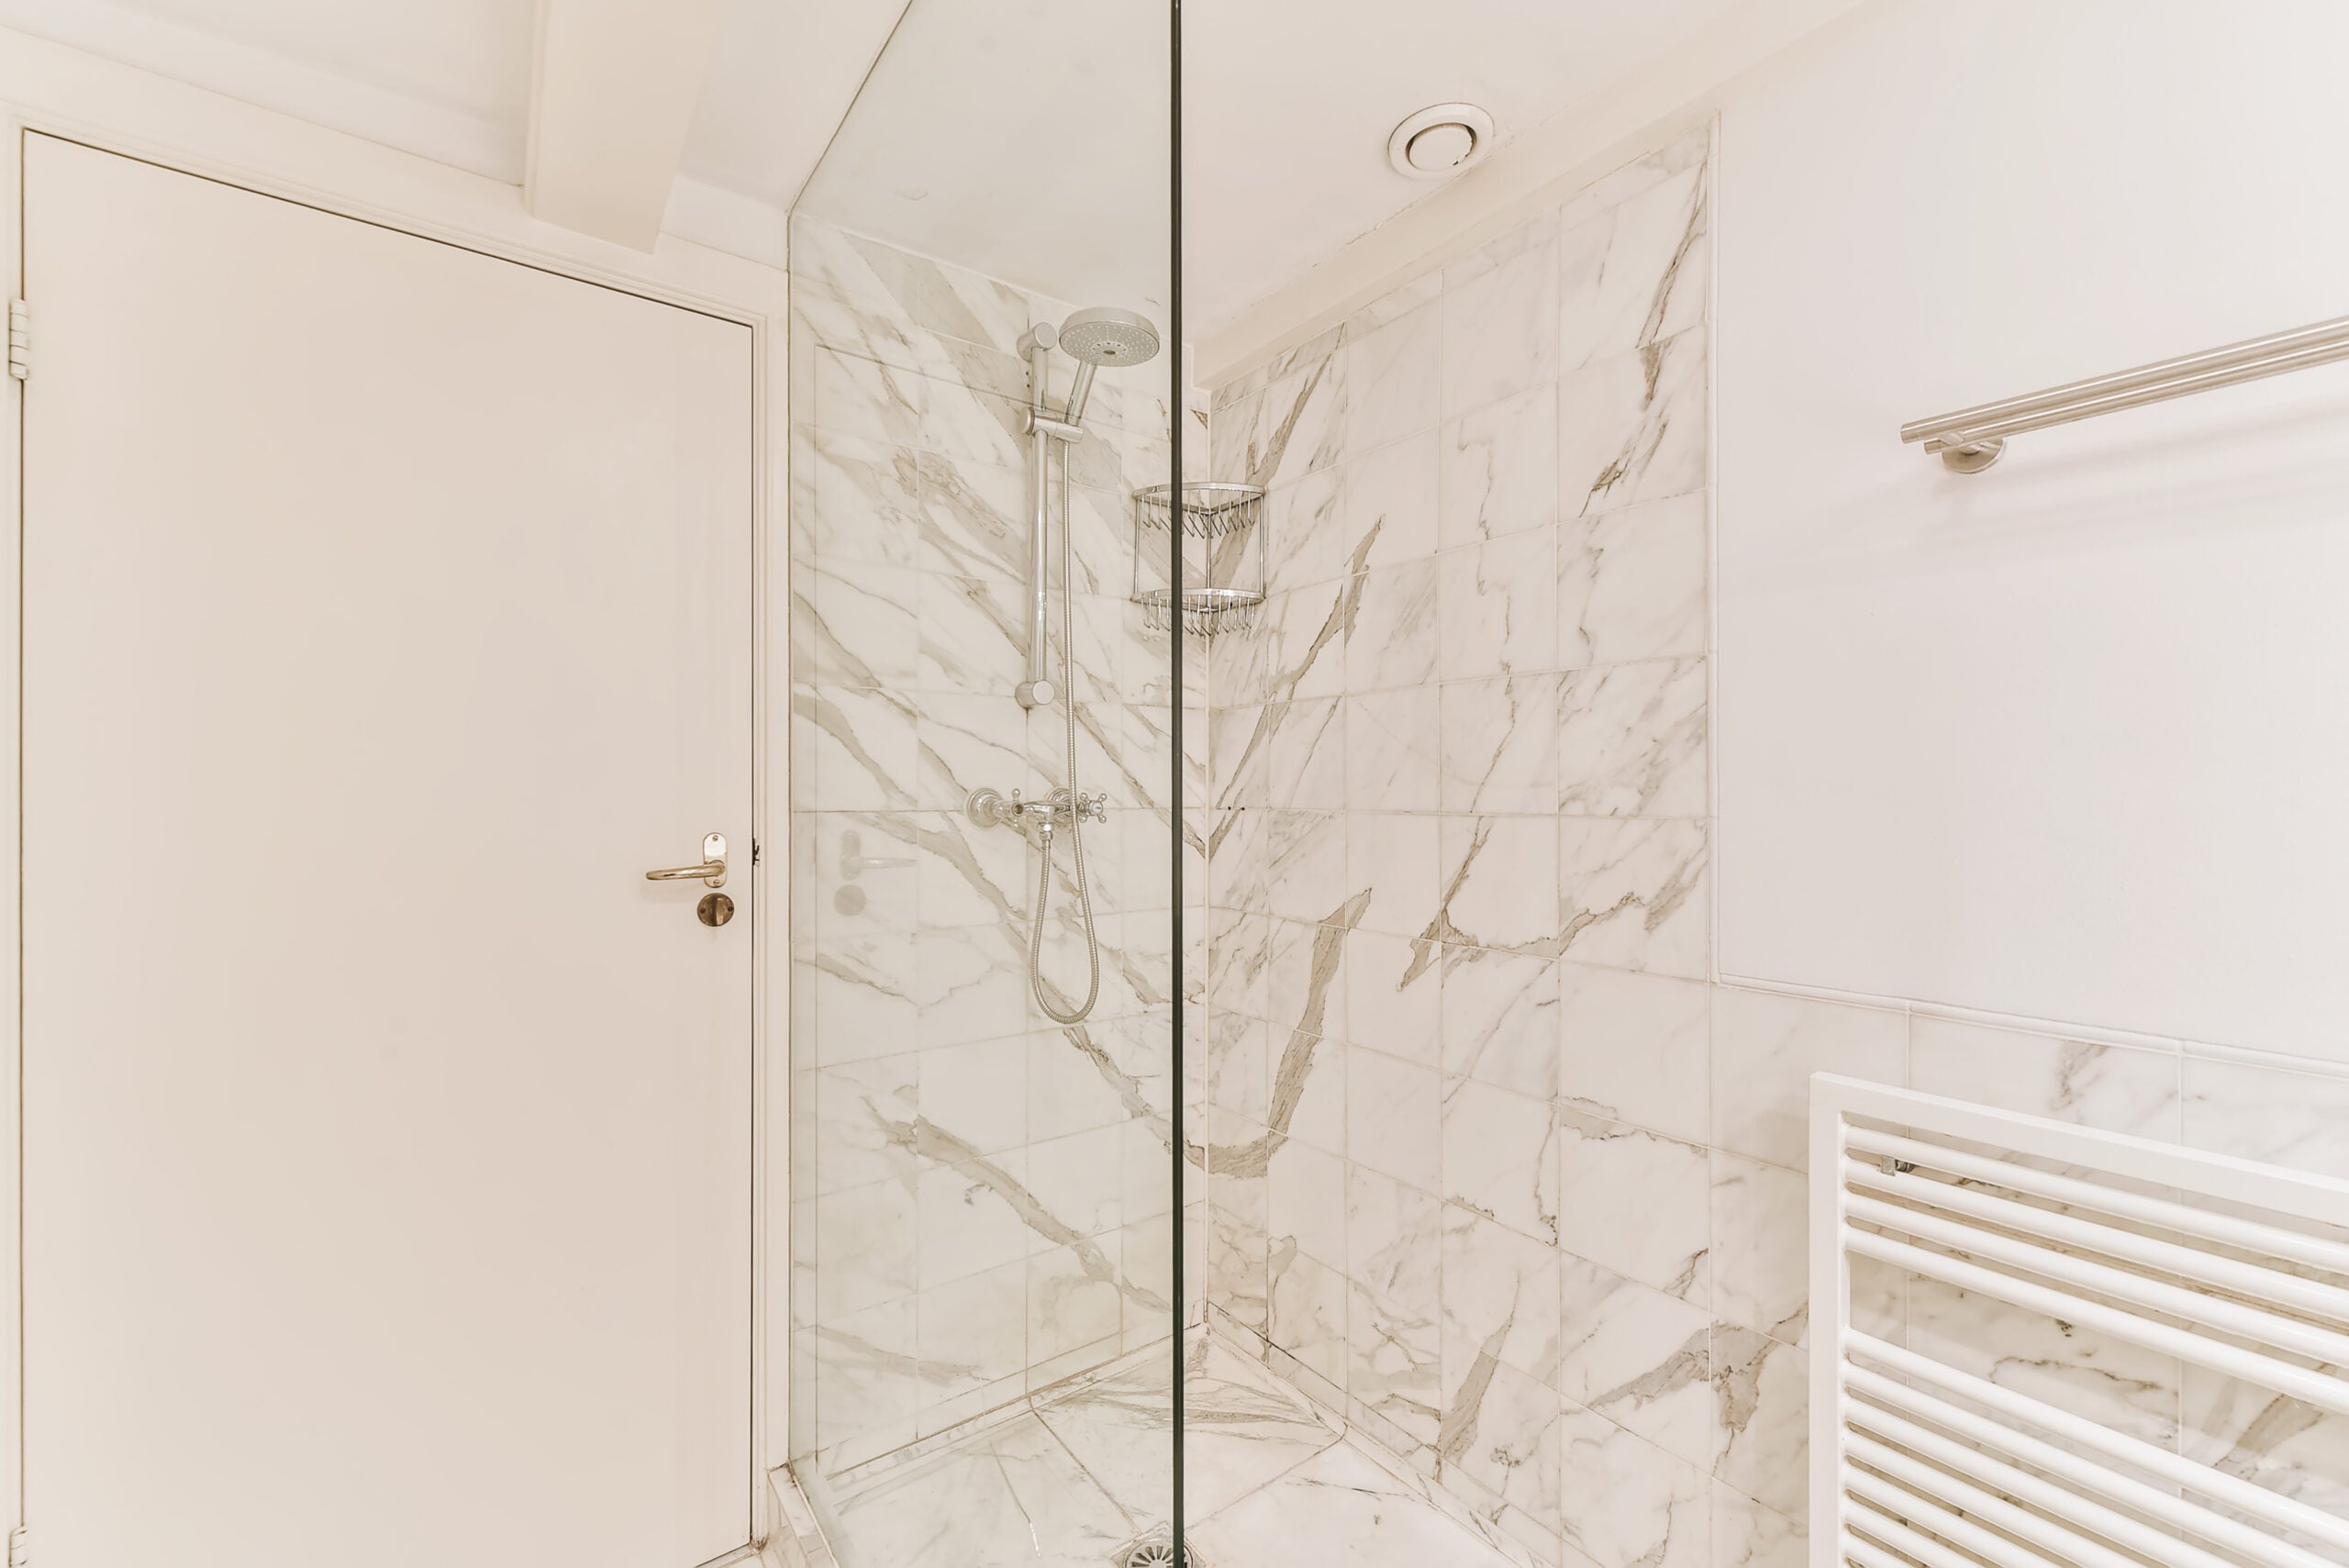
The tub has not been used in years. The footprint it occupies is the best real estate in the master bath, and every morning you step past it to use the separate shower. Converting that space into a custom walk-in shower is one of the most used-every-day improvements a Central Florida homeowner can make, and one of the most technically specific. Joshua handles the conversion correctly, from waterproofing through finished tile.

Why a Tub-to-Shower Conversion Makes Sense in Central Florida.

Central Florida homeowners convert their tubs to showers at a higher rate than the national average, and the reasons are specific to this market. Florida’s year-round warmth means soaking bathtubs sit unused in most master baths for months at a time. The builder-standard tub that came with the home in 1995 or 2005 was a box checked on a floor plan, not a considered lifestyle choice.

Meanwhile, the walk-in shower has become the primary bathing choice for most Central Florida households. When a master bath has a separate shower and a tub that collects bathroom products and nothing else, the conversion math is straightforward: the tub footprint becomes usable shower space, the daily bathing experience improves immediately, and the master bath function reflects how the household actually lives.

Resale value follows the same logic. A master bath with a large, custom-tiled walk-in shower and no tub consistently outperforms the dated tub-and-separate-shower layout with Central Florida buyers. If a second bathroom in the home retains a tub, the master bath conversion carries no resale penalty in this market.

Who we are

When a tub-to-shower conversion is the right decision:

  • The tub in the master bath is rarely or never used by the current household
  • A second bathroom in the home retains a tub for resale purposes
  • The master bath layout would benefit from a larger, more usable shower footprint
  • An aging-in-place or accessibility consideration makes a barrier-free shower preferable to a tub
  • The existing tub surround tile or fiberglass is failing and replacement is required regardless
Tub-to-Shower Conversion

Two Conversion Types: Curbed Walk-In
Shower and Barrier-Free Zero-Threshold.

Most tub-to-shower conversions produce one of two results: a standard walk-in shower with a low curb, or a barrier-free walk-in shower with no threshold and a continuous floor from the bathroom into the shower enclosure. The right choice depends on accessibility needs, design preference, and drain logistics for the specific space.

ConsiderationStandard Walk-In Shower ConversionBarrier-Free / Zero-Threshold Conversion
ThresholdLow curb: 4″ or less. Keeps water in the shower enclosure with standard tile and drain.No threshold or curb. Floor continues flat from bathroom into shower. Linear drain required at shower perimeter or center.
Drain typeStandard center or offset shower drain. Most common and cost-effective.Linear drain along one wall or across the full shower width. Allows the floor tile to slope continuously to the drain without a visible center drain.
ADA / accessibilityNot ADA-compliant due to curb threshold. Suitable for most standard household applications.ADA-compliant when correctly specified. Required for aging-in-place conversions and accessible bathrooms.
Tile layoutStandard floor tile within the curb area. Wide range of tile options and patterns.Continuous tile from bathroom floor into shower. Tile selection and grout must be consistent across the full floor field.
Waterproofing complexityStandard wet area waterproofing on shower floor and walls. Curb also waterproofed.Higher complexity: the full transition from dry bathroom floor to wet shower area must be continuously waterproofed without a curb to define the boundary.
Best forStandard master bath conversions, all age groups, most tile design directions.Aging-in-place renovations, households with mobility considerations, contemporary open-plan bathroom designs.

Joshua evaluates the existing plumbing rough-in location, the bathroom floor layout, and any accessibility requirements during the free in-home consultation and recommends the conversion type that serves the household correctly over the long term.

The Step Most Conversion Installers Rush. The One Joshua Does Not.

Tub-to-Shower Conversion

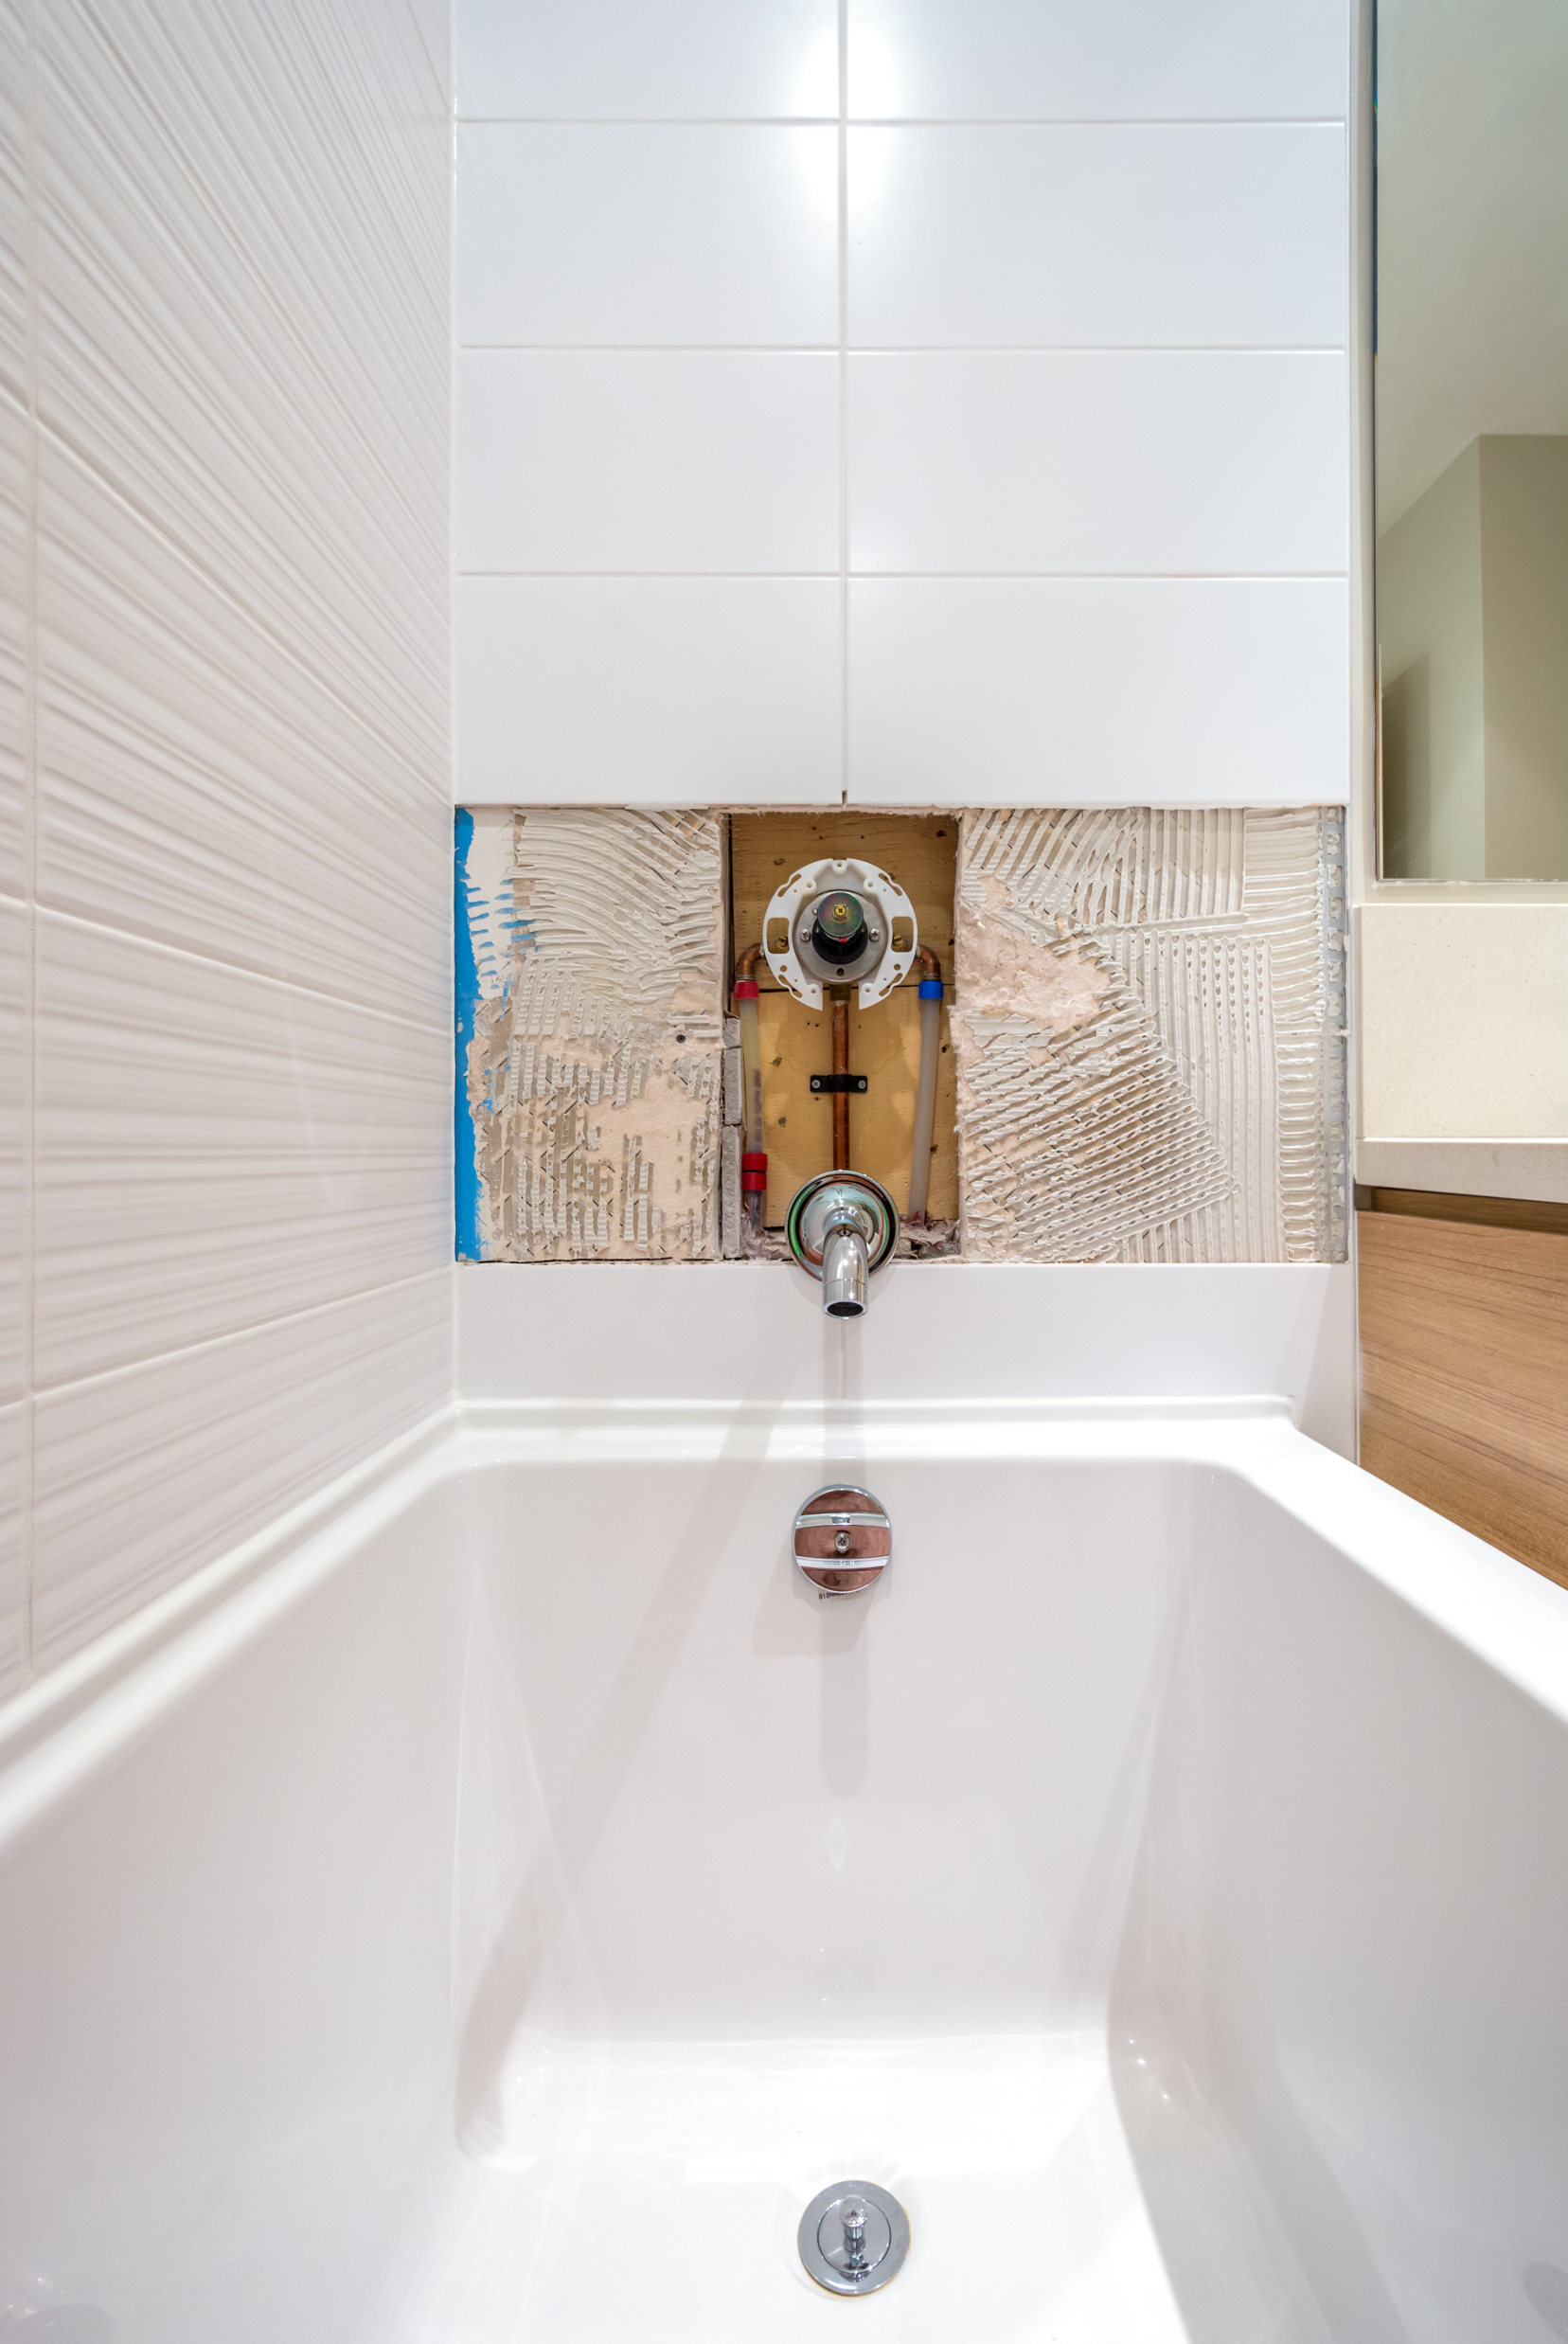
A tub-to-shower conversion exposes the subfloor and framing that the tub sat on for decades. Before any new shower pan or tile goes down, that substrate needs to be evaluated, any damaged material replaced, and the entire wet area properly waterproofed. This is the step that determines whether the conversion holds for fifteen years or starts failing in three.

In Florida’s climate, a shower that leaks into the subfloor or wall framing does not dry out between uses the way it might in a dryer climate. Florida’s ambient humidity keeps the moisture present continuously. Mold growth in a wet wall cavity behind new tile can begin within weeks of a waterproofing failure in a Florida bathroom. By the time the tile starts to show signs of moisture, the damage behind it has been building for months.

The waterproofing membrane in a correctly executed tub-to-shower conversion is applied continuously: from the shower floor, up the walls to above the tile line, into every corner, across every niche and bench surface, and integrated with the drain collar so the waterproofing plane has no gap at the most vulnerable point in the entire installation. Joshua does not treat this as a step to move through quickly. It is the foundation the rest of the conversion is built on.

Every Step of a Correctly Executed
Tub-to-Shower Conversion.

The reason tub-to-shower conversions fail, tile separating from walls, grout cracking at corners, water appearing on the ceiling of the room below, is almost always a sequencing problem. A step was skipped or rushed, a material was substituted incorrectly, or a trade handed off to the next without verifying the previous phase was complete. The sequence below is the correct order of operations for a conversion done to last.

 PhaseWhat Happens and Why It Matters
1Consultation and DesignJoshua evaluates the existing tub space, bathroom dimensions, plumbing rough-in location, and drain position. Tile selection is made via the mobile showroom in your actual bathroom. Conversion type (standard or barrier-free), drain type, niche placement, bench inclusion, and glass enclosure style are all confirmed before anything is ordered.
2DemolitionTub, tub surround tile or fiberglass, and any drywall or greenboard behind the tub are removed. Greenboard (paper-faced moisture-resistant drywall) is not an appropriate shower substrate regardless of what the original builder used. All substrate behind the new shower must be replaced with proper backerboard or uncoupling membrane.
3Plumbing Rough-In[SCOPE: CONFIRM] Drain is repositioned if necessary for the new shower configuration. Showerhead and valve rough-in is adjusted to the new shower height and position. All plumbing work is performed by or coordinated with a licensed plumber. This phase must be completed and inspected before any waterproofing or tile work begins.
4Shower Pan or Mud BedThe shower floor is formed with a pre-sloped shower pan (foam or mortar bed) that directs water continuously toward the drain. Pre-slope is mandatory: a flat shower floor that does not drain completely creates the standing water conditions that drive moisture behind grout and into the wall cavity over time.
5WaterproofingWaterproofing membrane is applied continuously across the full shower floor, up the walls to above the intended tile height, and into all corners, niches, and bench surfaces. The drain collar is integrated into the membrane so the waterproofing plane has no gap at the most vulnerable point in the installation. This is the most critical step in the entire conversion.
6Backerboard and Wall PrepCement backerboard or equivalent substrate is installed on all shower walls. All joints are taped and waterproofed. No paper-faced board of any kind in the wet zone.
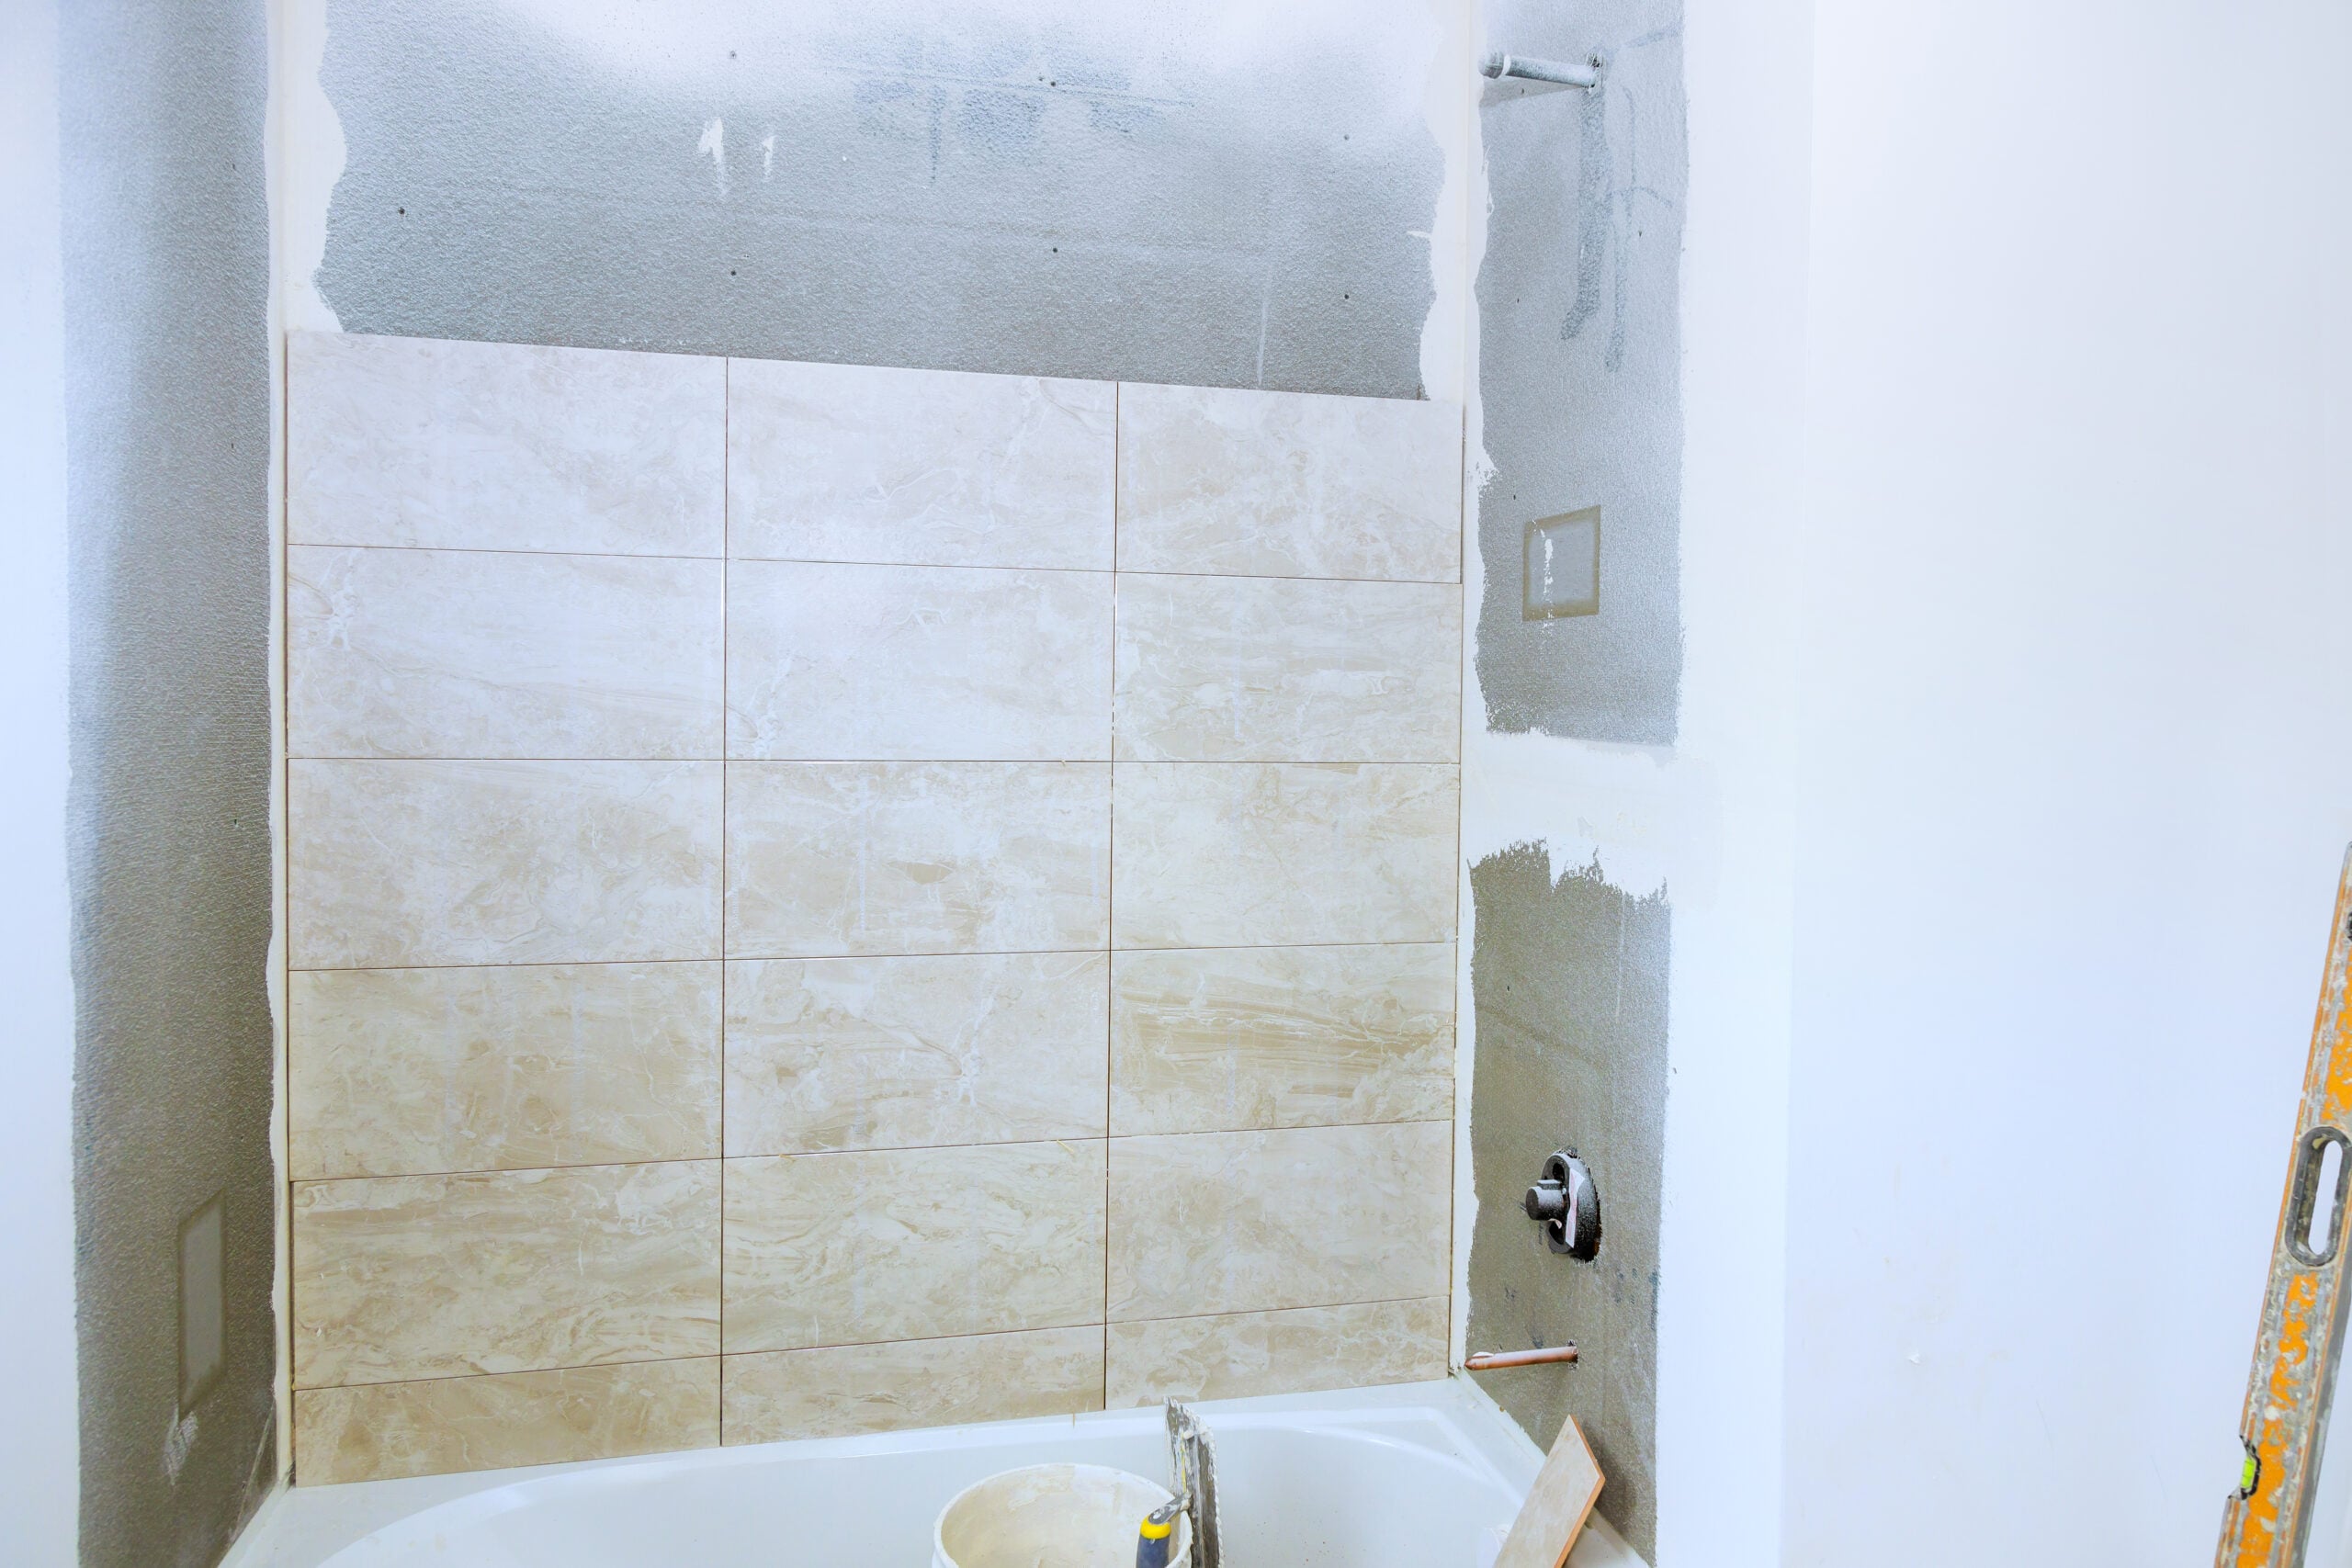
7Tile InstallationWall tile is installed from the reference line up, with layout planned so cut tiles land symmetrically at the top and bottom. Floor tile is installed with grout joints sized for the specific tile format and application. Niche tile, bench tile, and any accent or feature tile are installed as part of the same sequence.
8Grouting and SealingGrout is applied, packed fully into every joint, and finished consistently throughout the installation. Grout type (sanded, unsanded, epoxy) is selected for the specific joint size and application. Grout is sealed after cure where the product and application require it.
9Glass and Fixtures[SCOPE: CONFIRM] Frameless glass enclosure or shower door is installed after tile work is complete and cured. Showerhead, valve trim, and any additional fixture trim are installed. Final inspection of the full installation.

Joshua manages the full conversion sequence and coordinates each phase in the correct order. Materials for each phase are confirmed before any work begins so there are no mid-project substitutions that compromise the installation.

Designing the Walk-In Shower That
Fits the Rest of Your Bathroom.

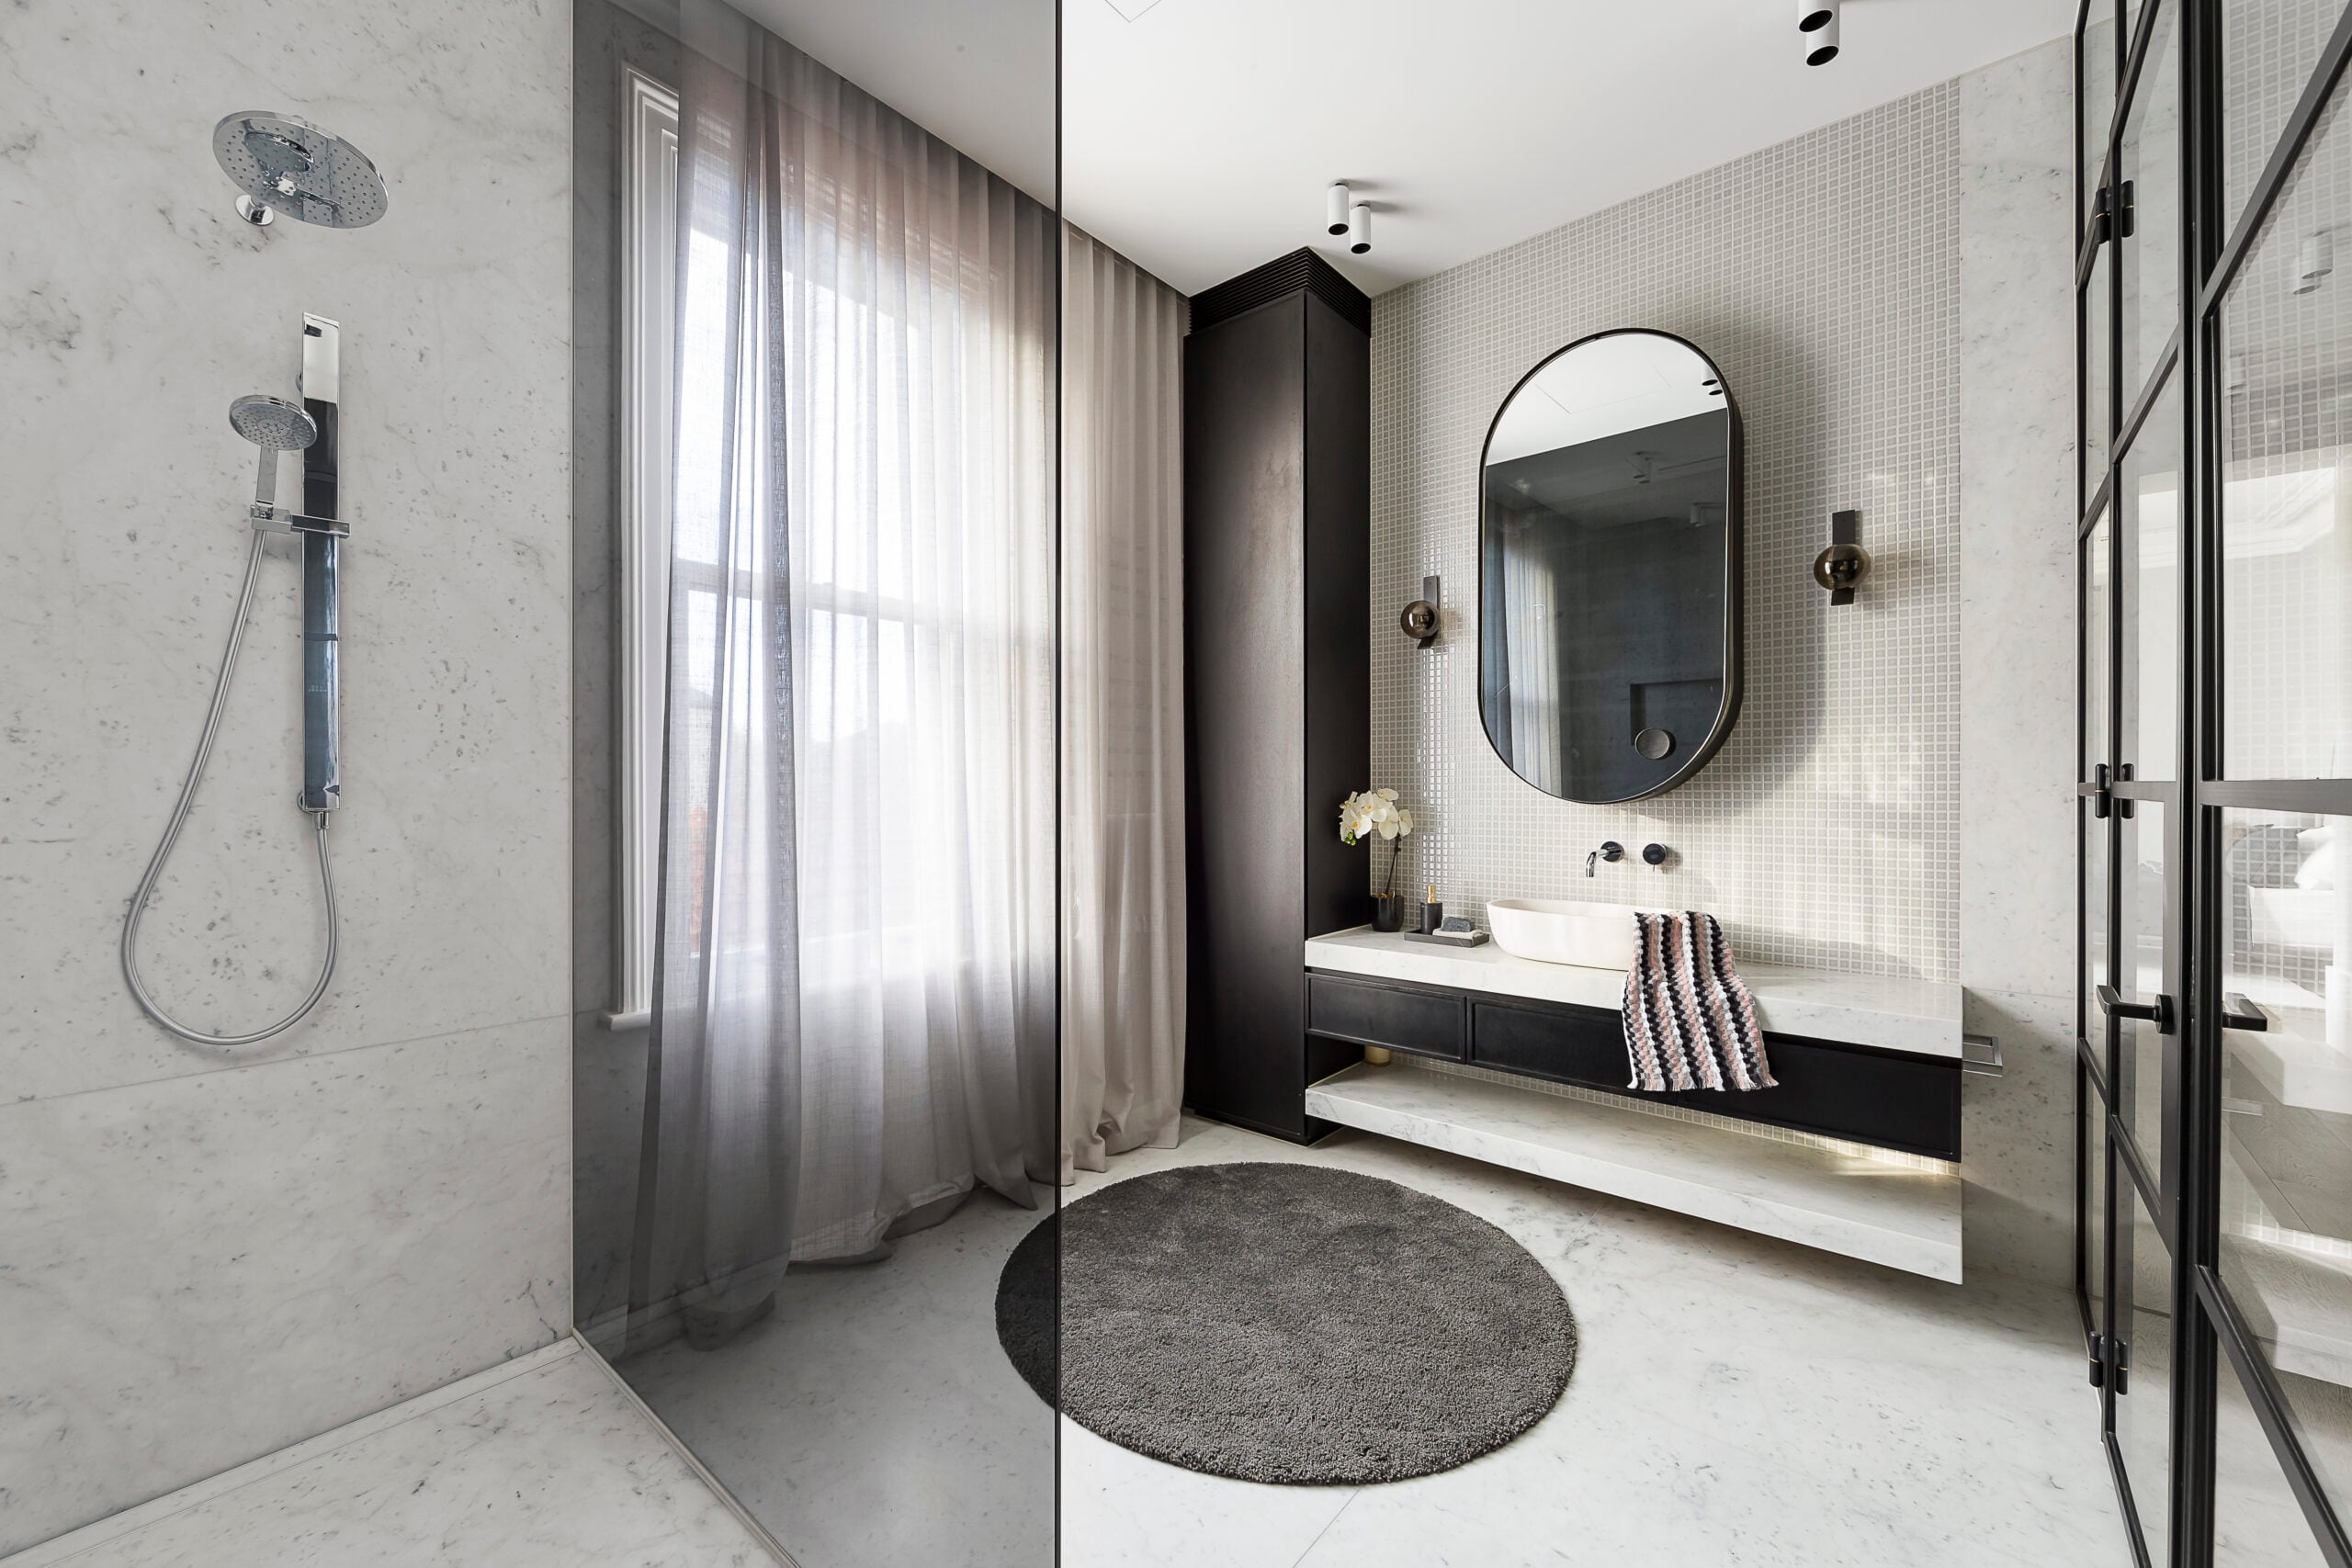
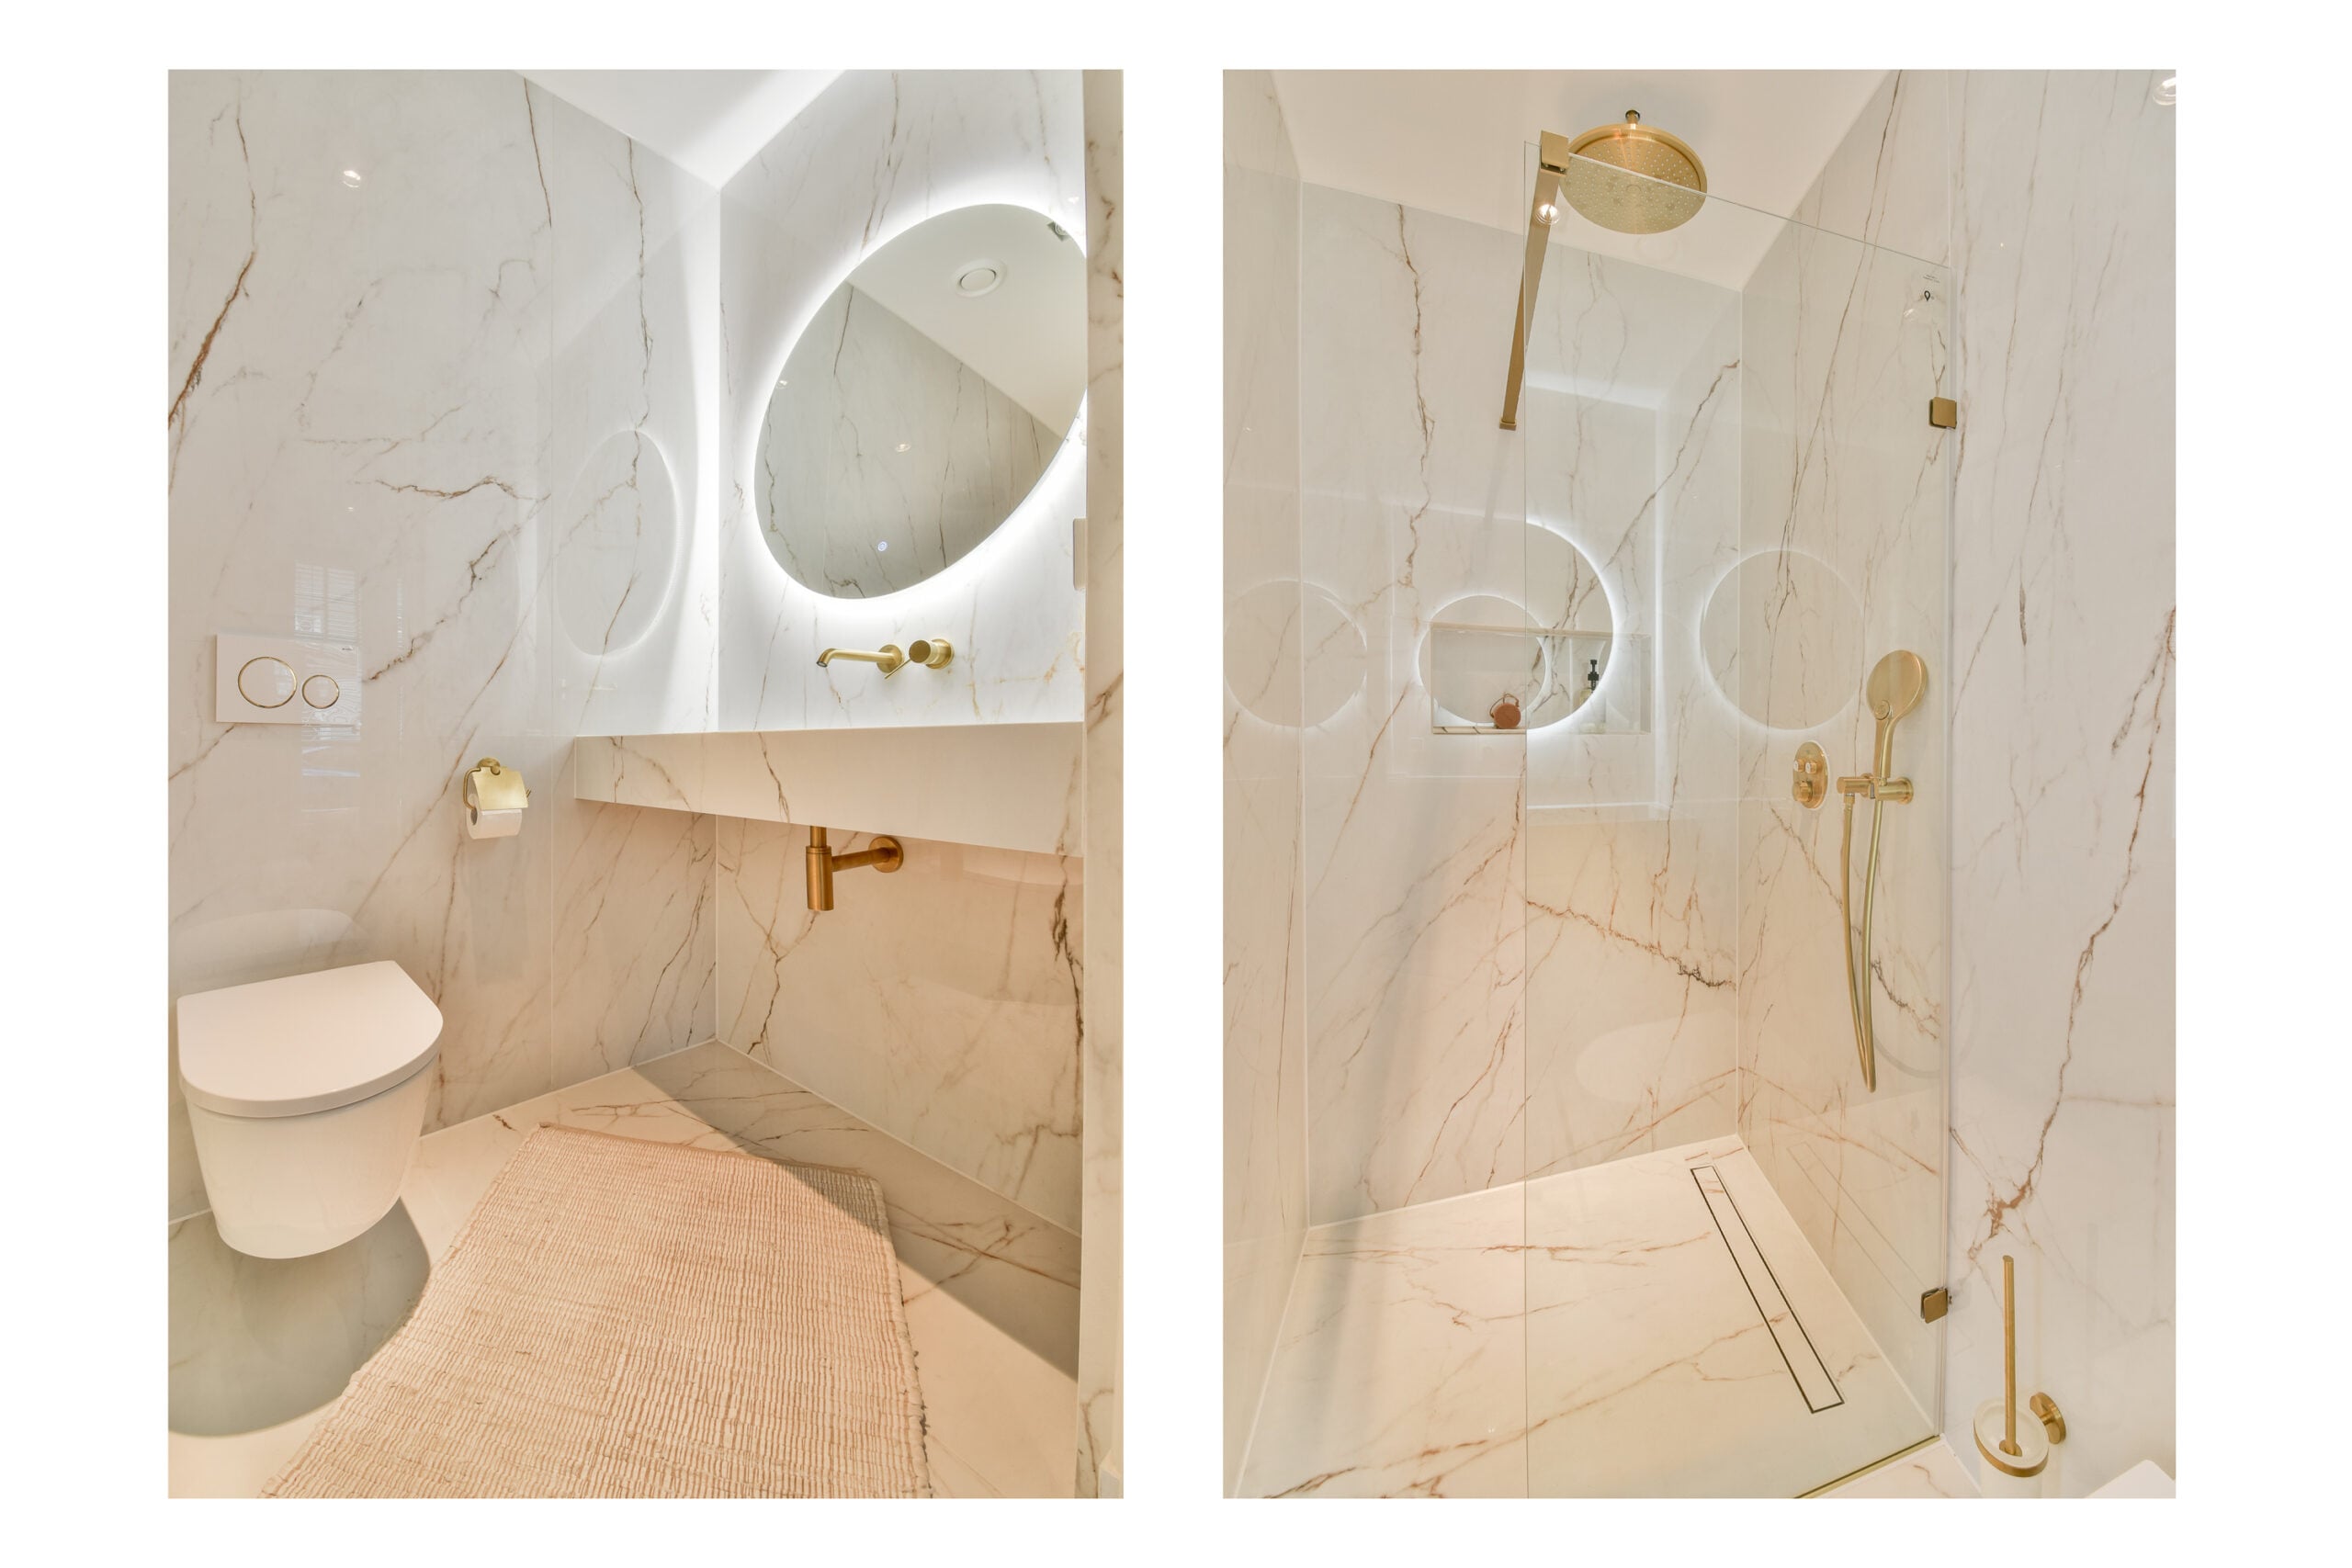
Once the conversion type and drain configuration are confirmed, the shower design is built around tile selection, niche placement, bench inclusion, and the glass enclosure type. Joshua brings the full tile selection to your bathroom so every material decision is made in your actual light.

Wall Tile

Large-format porcelain at 12×24 or 24×48 is the dominant choice for converted walk-in shower walls in Central Florida master baths. Larger format means fewer grout joints, easier cleaning, and a more seamless visual quality. Subway tile remains popular in traditional and transitional bathrooms. Feature walls behind the showerhead position are a design opportunity: a contrasting tile or pattern in that position anchors the shower visually without requiring custom tile across the full surround.

Shower Floor

Shower floor tile requires smaller format or textured surface for adequate traction. 2×2 mosaic tile is the standard for tiled shower floors because the higher number of grout joints provides both slip resistance and the surface area the tile needs to bond correctly to the pre-sloped floor. 4×4 and hex tile are also appropriate options. Pebble tile is available for a more natural aesthetic but requires more maintenance to keep the grout joints clean in a Florida bathroom environment.

Niches, Benches, and Custom Features

Shower niches recessed into the wall provide storage without protruding into the shower space. Niche placement and size are confirmed before the conversion begins so the framing and waterproofing accommodate the niche correctly. Benches can be tiled as part of the shower or installed as pre-formed units. For master bath conversions where the shower footprint is generous, a built-in bench on the opposite wall from the showerhead adds both function and the spa-quality visual that makes a converted shower feel like an intentional design rather than a removed tub.

A Conversion Built to Last in Florida's Climate.

The tub-to-shower conversion is the bathroom project with the most severe failure consequences. A floor installation that does not perform can be replaced. A shower that leaks into the framing behind a newly tiled wall in Florida’s humidity produces damage that has to be remediated before the shower can be rebuilt. That remediation is significantly more expensive than the conversion itself.

Joshua brings tile expertise and Florida-specific waterproofing knowledge to every conversion. He knows which substrates are appropriate for wet areas and which ones general contractors substitute incorrectly. He knows how a waterproofing membrane has to be applied at the drain collar, at the wall corners, and around niche penetrations to form a continuous barrier. And he knows what a pre-sloped shower floor looks like when it has been formed correctly versus when it has been leveled flat and will never drain completely.

The conversion you get from Joshua is not just a bathroom without a tub. It is a shower built on the correct foundation, waterproofed for Florida’s climate, and tiled with the precision that makes the installation worth living with for the life of the home.

Tub-to-Shower Conversion

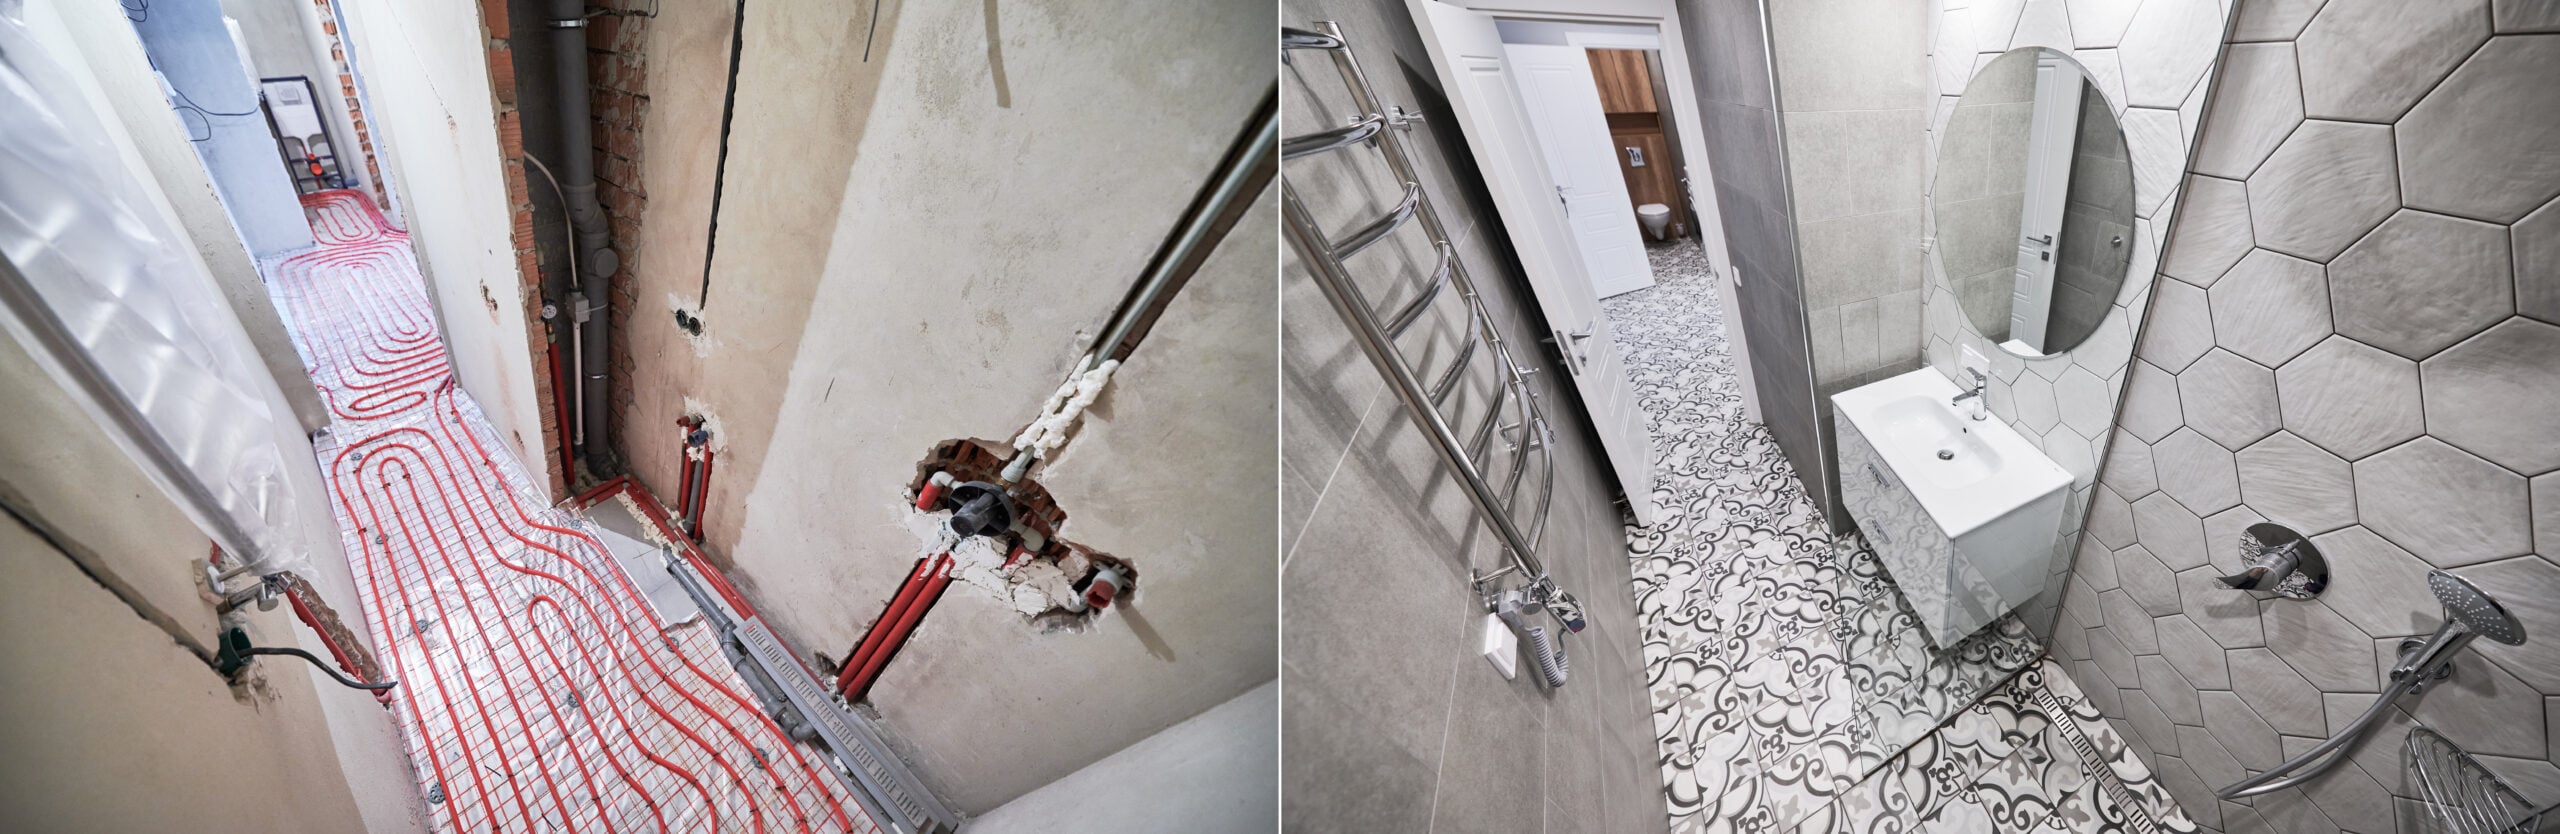
The Space Before.
The Shower After.

The before-and-after below shows a completed tub-to-shower conversion in a Central Florida master bath: the same bathroom, the same angle, before the tub was removed and after Joshua’s conversion was complete.

The Tub You Never Use. The Shower You Would Use Every Day.

Joshua evaluates your master bath, brings tile samples, discusses the conversion options on site, and gives you a complete itemized quote before he leaves. The consultation is free. The conversion is done right, waterproofed for Florida, and built to hold for the life of the home.

Tub-to-Shower Conversion
SERVICE AREA

Tub-to-Shower Conversions Across Central Florida.

Elite Floor Crafters performs tub-to-shower conversions throughout Ocala, Gainesville, The Villages, Citrus County, and surrounding Central Florida communities. Joshua brings tile samples to your home so every design decision is made in your actual bathroom before any work begins.

Call or text 352-520-9400 to schedule your free in-home consultation.

FAQs

Frequently Asked Questions About Tub-to-Shower Conversions

How long does a tub-to-shower conversion take?

A standard tub-to-shower conversion in a master bath typically runs seven to twelve days from demolition through finished tile. The timeline includes the waterproofing cure period and grout cure before the shower can be used. Glass enclosure installation adds one to two additional days after tile cure. Joshua provides a realistic project timeline during the free in-home consultation based on the actual scope of your bathroom conversion.

In Central Florida’s market, a master bath tub-to-shower conversion does not hurt resale value when a second bathroom in the home retains a tub. A custom tiled walk-in shower in the master bath consistently appeals to buyers in this market. If the master bath is the only bathroom in the home, keeping a tub option is worth discussing with a real estate professional before committing to the conversion.

A barrier-free conversion produces a walk-in shower with no curb or threshold: the bathroom floor continues flat into the shower area, with the water directed to a linear drain along one wall or across the shower perimeter. It is ADA-compliant when correctly specified and is the preferred conversion type for aging-in-place renovations, households with mobility considerations, and contemporary open-plan bathroom designs.

It depends on the existing tub drain location and the planned shower drain position. Tub drains are typically located near the foot of the tub, which may not be the ideal position for the new shower drain. Drain relocation is licensed plumbing work. Joshua evaluates the existing rough-in location during the consultation and includes plumbing coordination in the project scope where drain relocation is needed.

The full range of porcelain and ceramic tile is available for a tub-to-shower conversion: large-format 12×24 or 24×48 wall tile, mosaic shower floor tile, subway tile in traditional layouts, feature wall tile in a contrasting material, and custom waterjet medallion work for master baths where the design calls for it. Joshua brings tile samples to your bathroom during the consultation so selections are made in your actual space.

Yes. Both built-in benches and recessed niches are available as part of the conversion scope. Niche placement and size are confirmed before the conversion begins so the framing and waterproofing accommodate the niche correctly as part of the initial build rather than as a modification to a completed wall. Bench design and tile selection are made during the consultation alongside wall and floor tile choices.

Yes. Tub removal exposes the subfloor and framing that the tub sat on, which may have moisture damage or deterioration from years of proximity to plumbing. Joshua evaluates the substrate condition after demolition before any new material goes down. Any damaged subfloor or framing is replaced before the shower pan and waterproofing are installed so the new shower is built on sound structure.